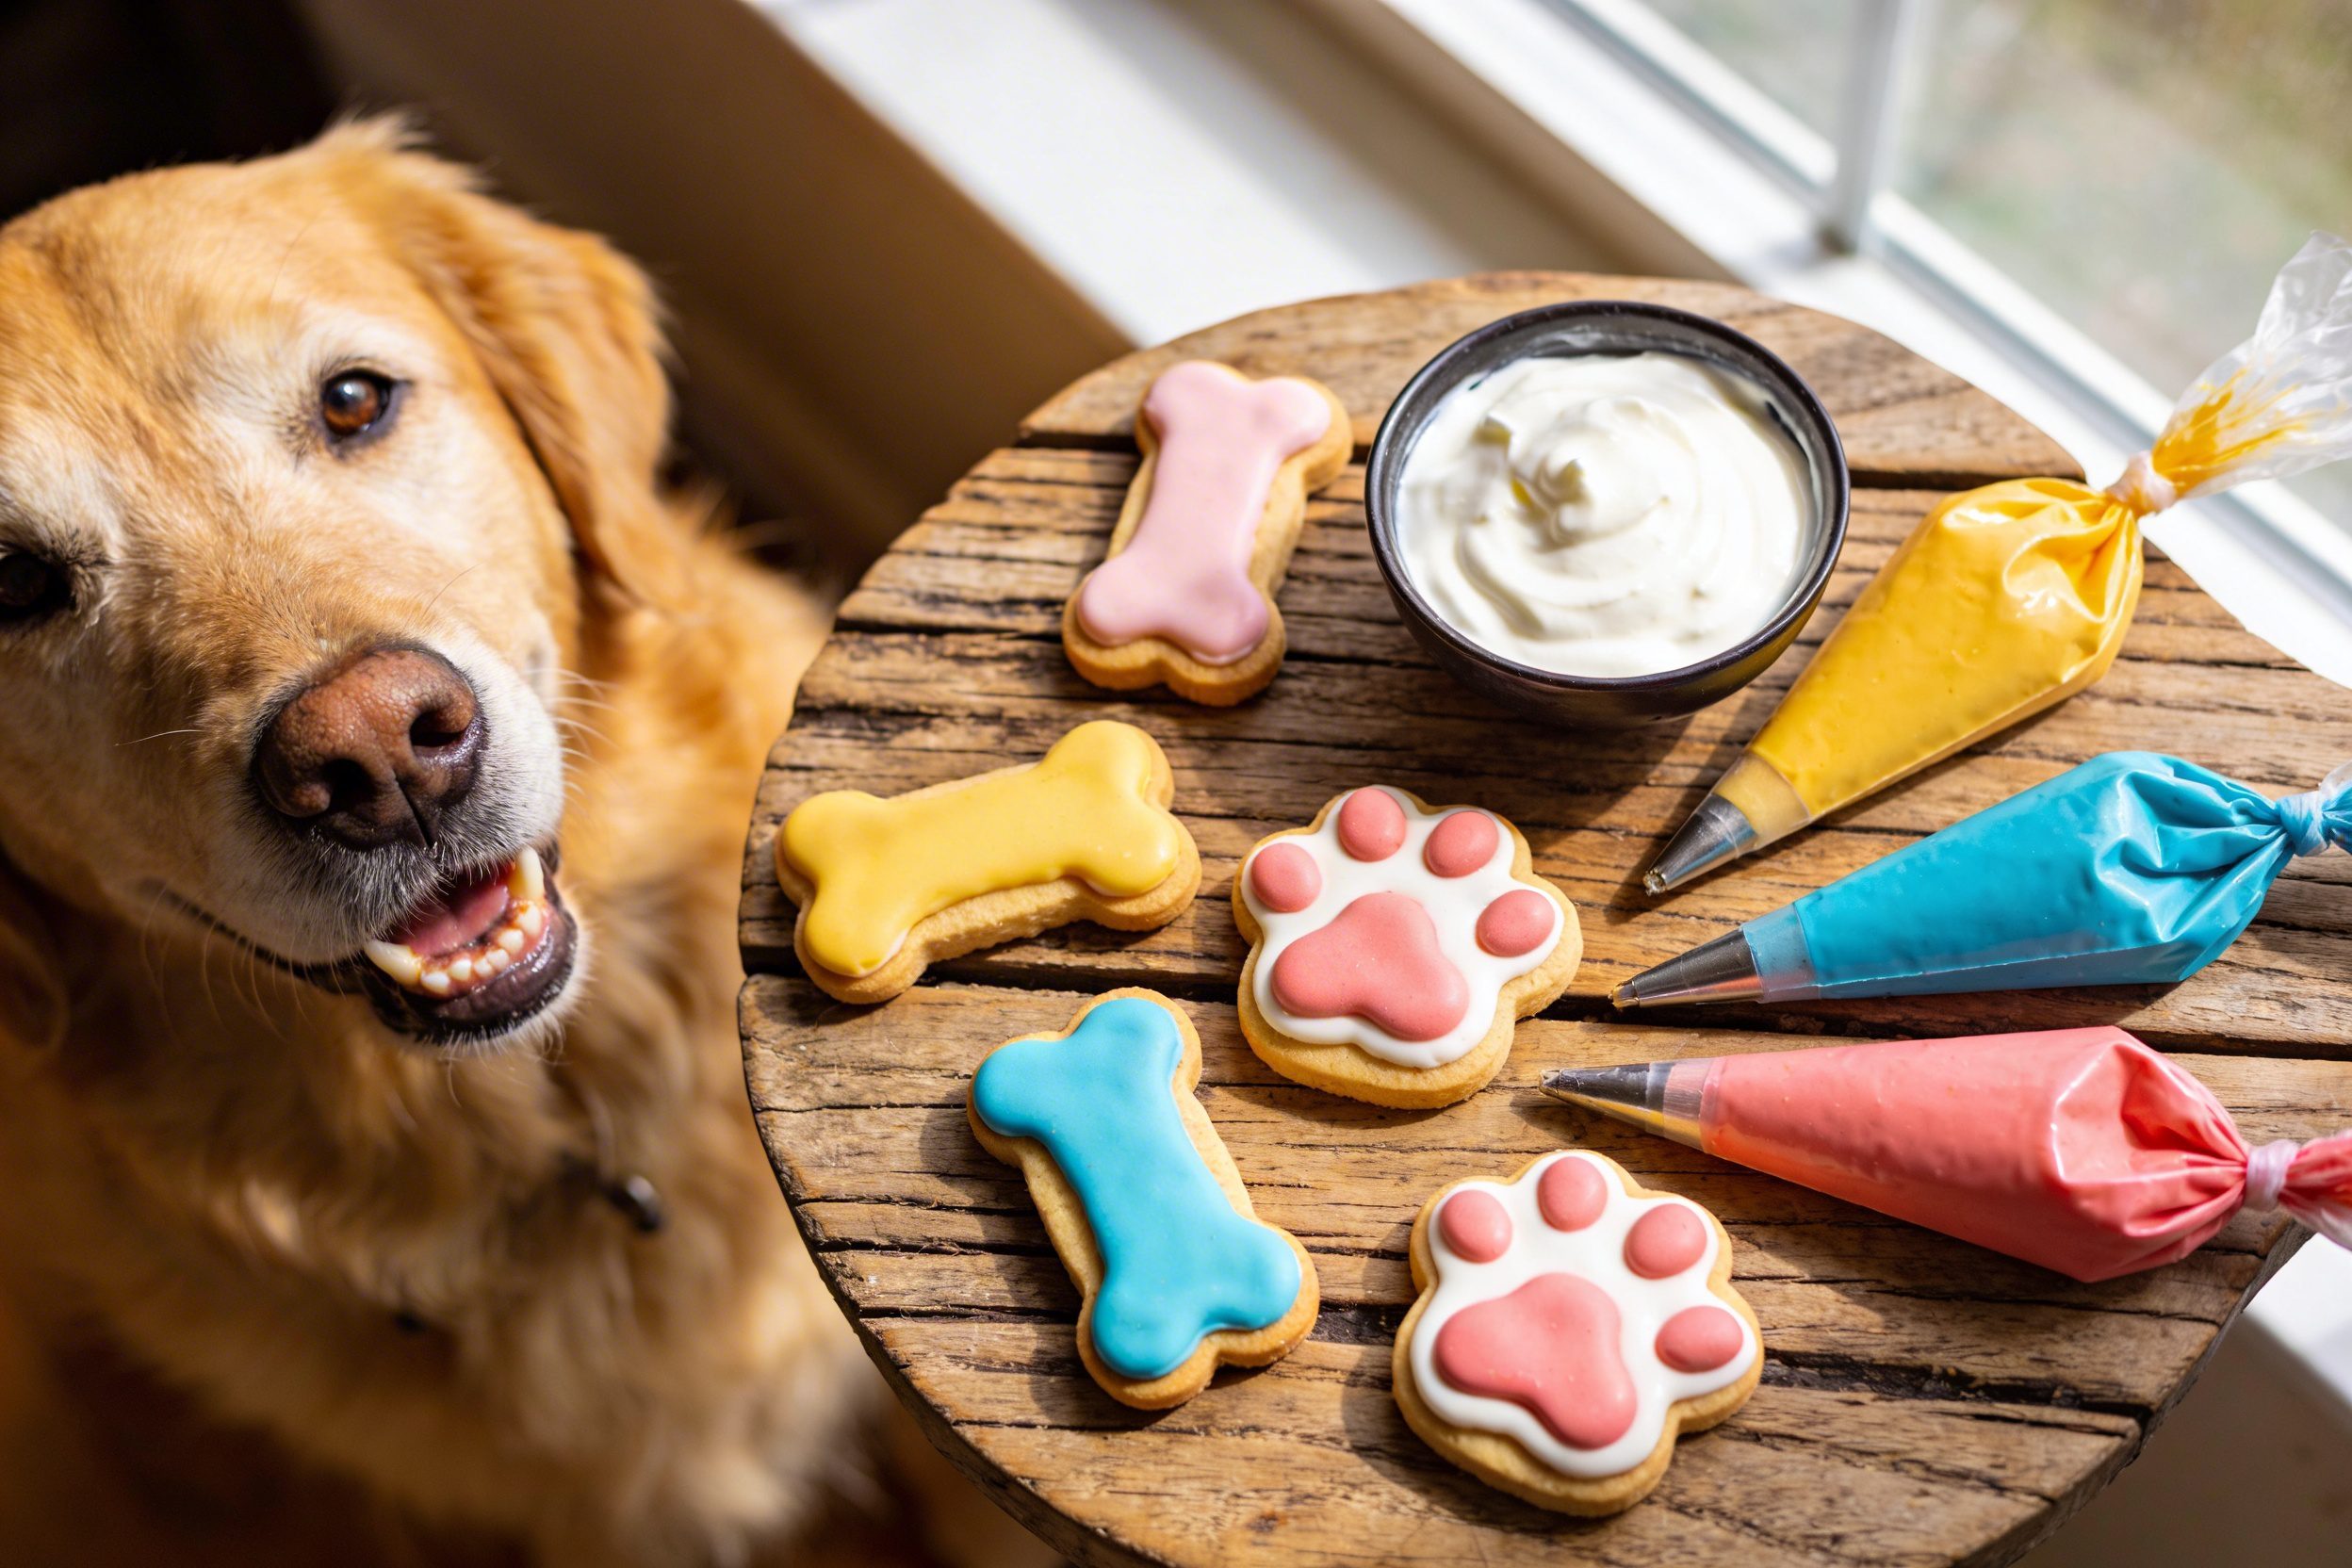
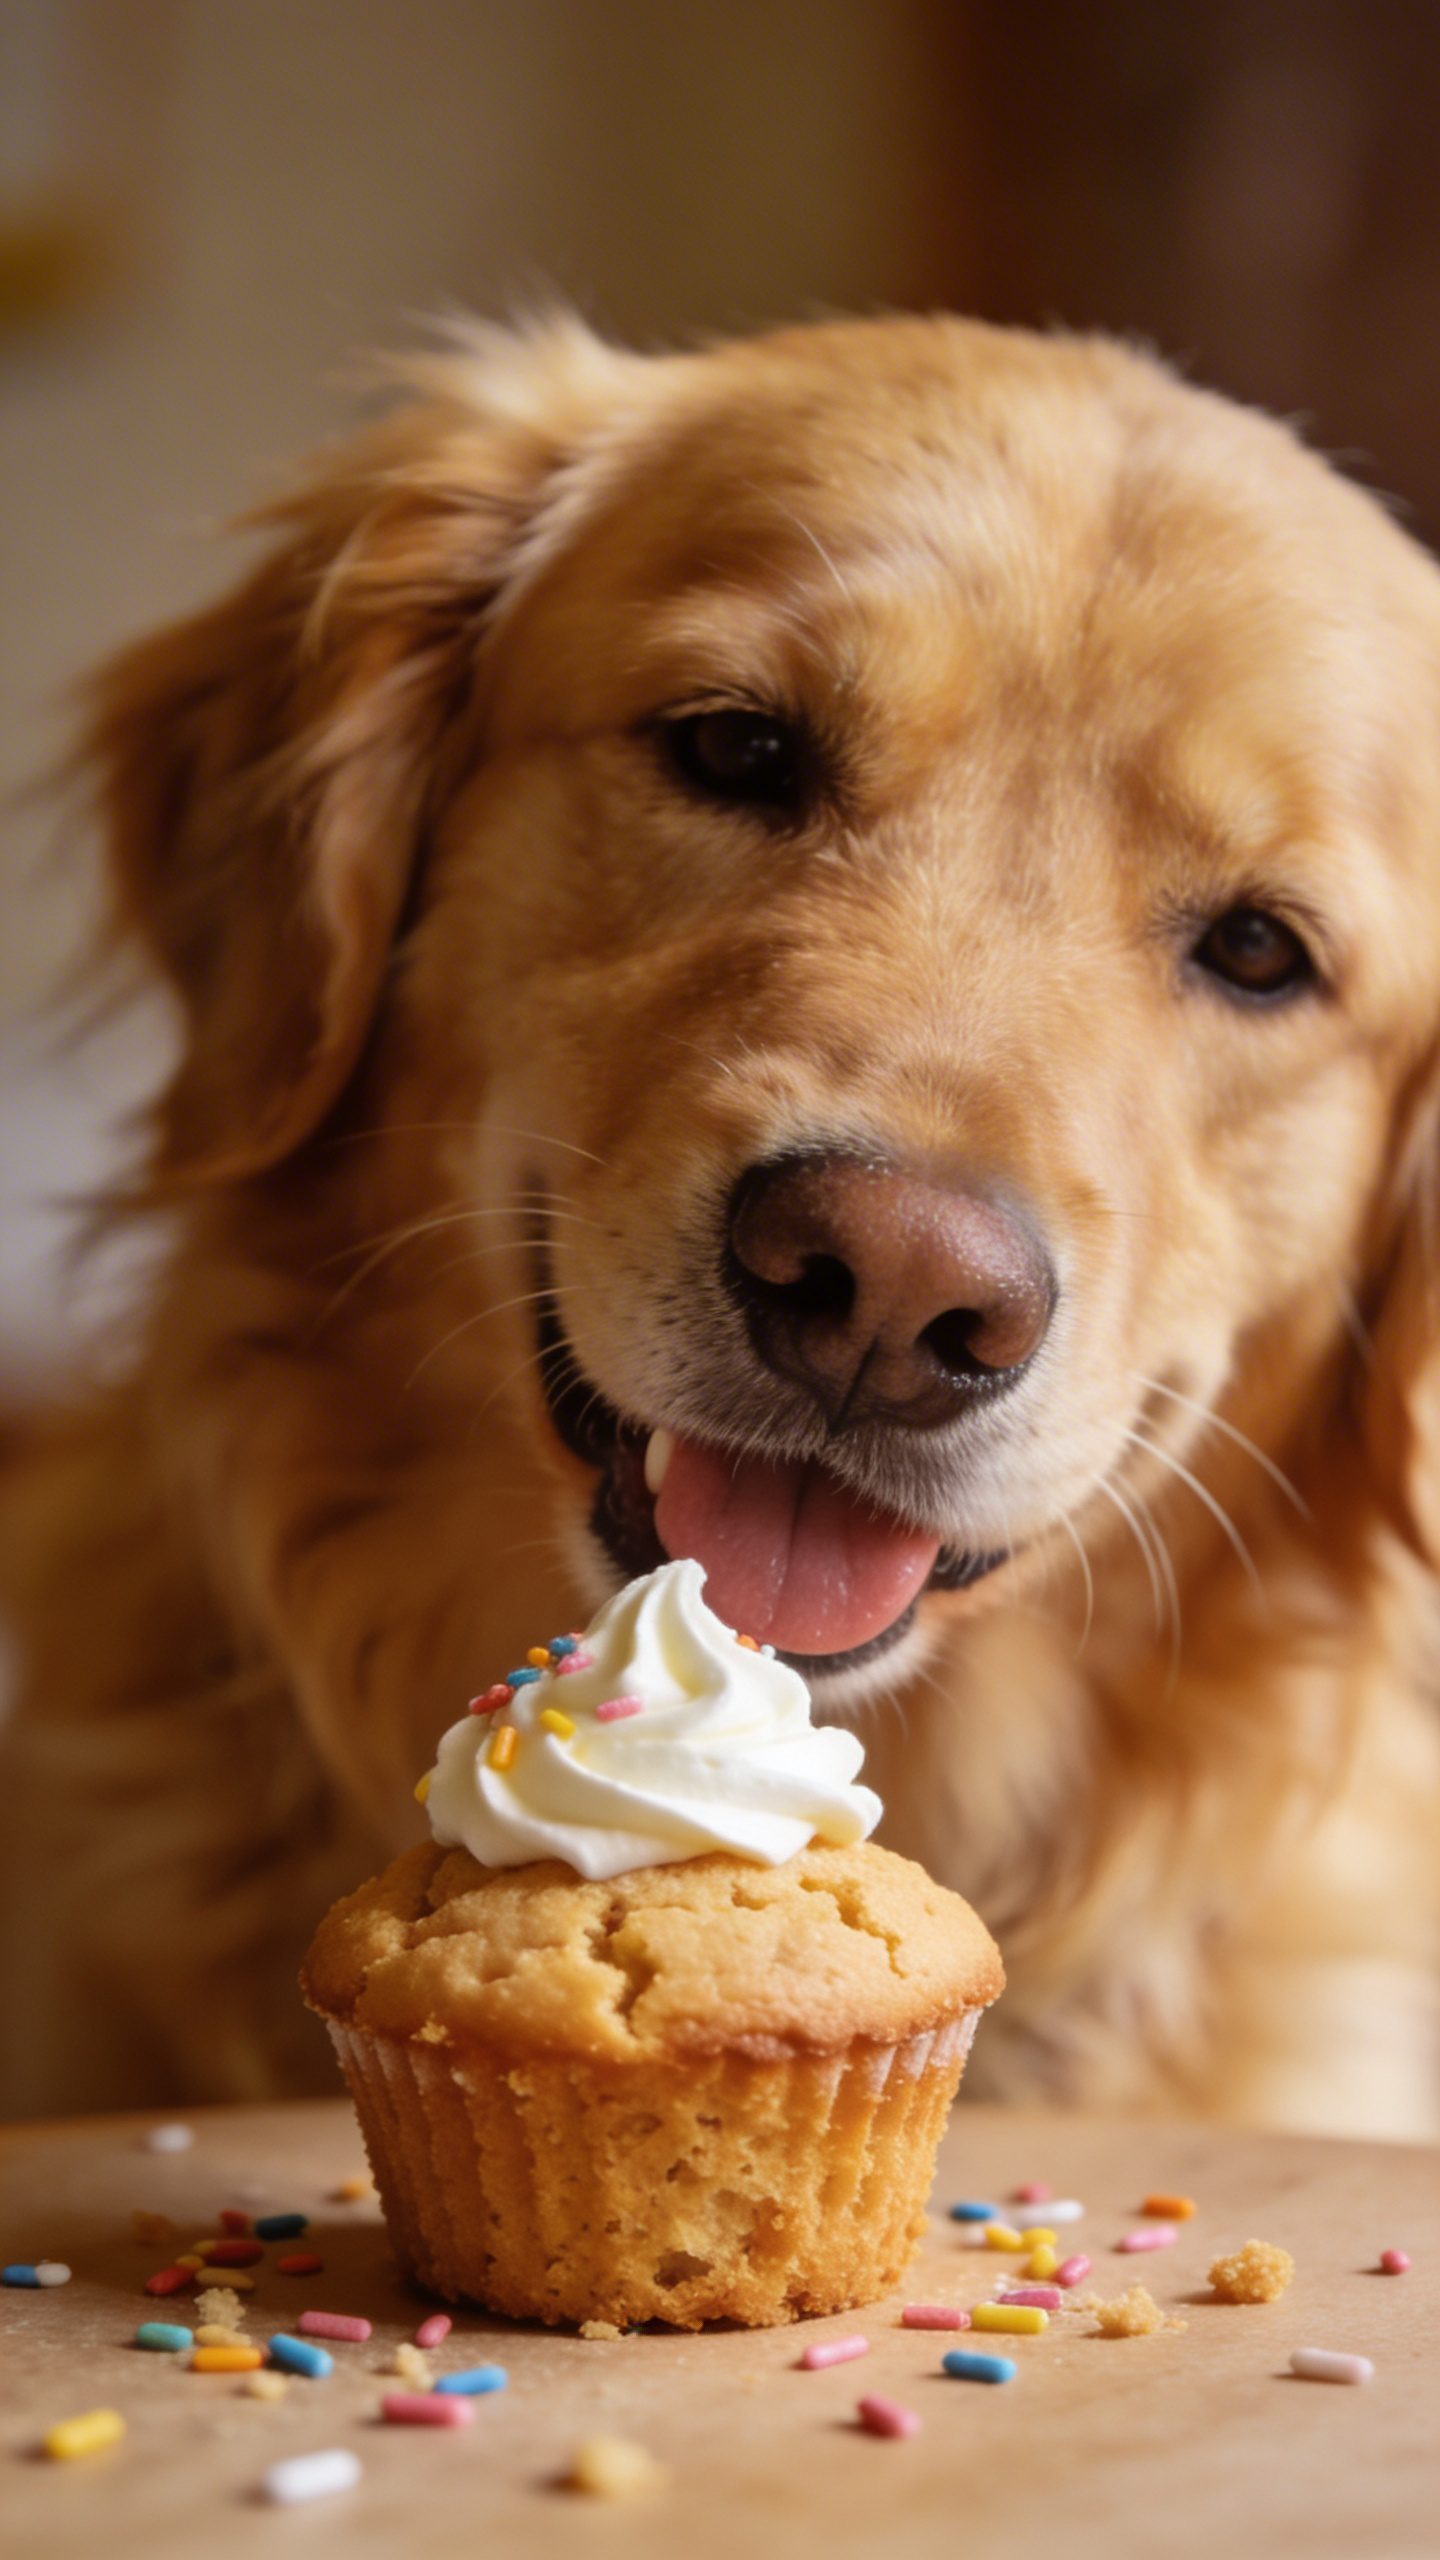
Your pup’s birthday cake looks amazing… until you try to decorate it and everything melts into a sad, gray puddle. Sound familiar? I’ve been there, standing in my kitchen at 10 PM, wondering why my dog deserves better frosting skills than I possess. The good news? You don’t need pastry chef training to make those drool-worthy decorated dog treats you see all over Instagram.
Why Regular Frosting is a Hard No for Dogs
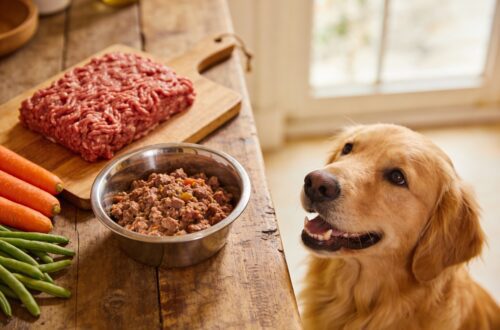
Before we dive into the genius hacks, let’s talk about why you can’t just swipe some leftover buttercream from your own birthday cake. Human frosting is basically a sugar bomb wrapped in butter, and dogs’ digestive systems aren’t built for that kind of chaos. Most traditional frostings also contain ingredients that range from “mildly upsetting to dog tummies” to “actually toxic.” Xylitol, an artificial sweetener commonly found in sugar-free products, is straight-up dangerous for dogs. Chocolate frosting? Obviously terrible. Even vanilla extract contains alcohol that dogs shouldn’t consume. Plus, all that refined sugar can lead to obesity, dental issues, and one very hyper pup followed by a spectacular crash. The solution? Dog-safe icing made from ingredients your furry friend can actually digest. And here’s the kicker – most of these ingredients work BETTER for decorating than you’d think.
Hack #1: Greek Yogurt Base with Food Processor Magic

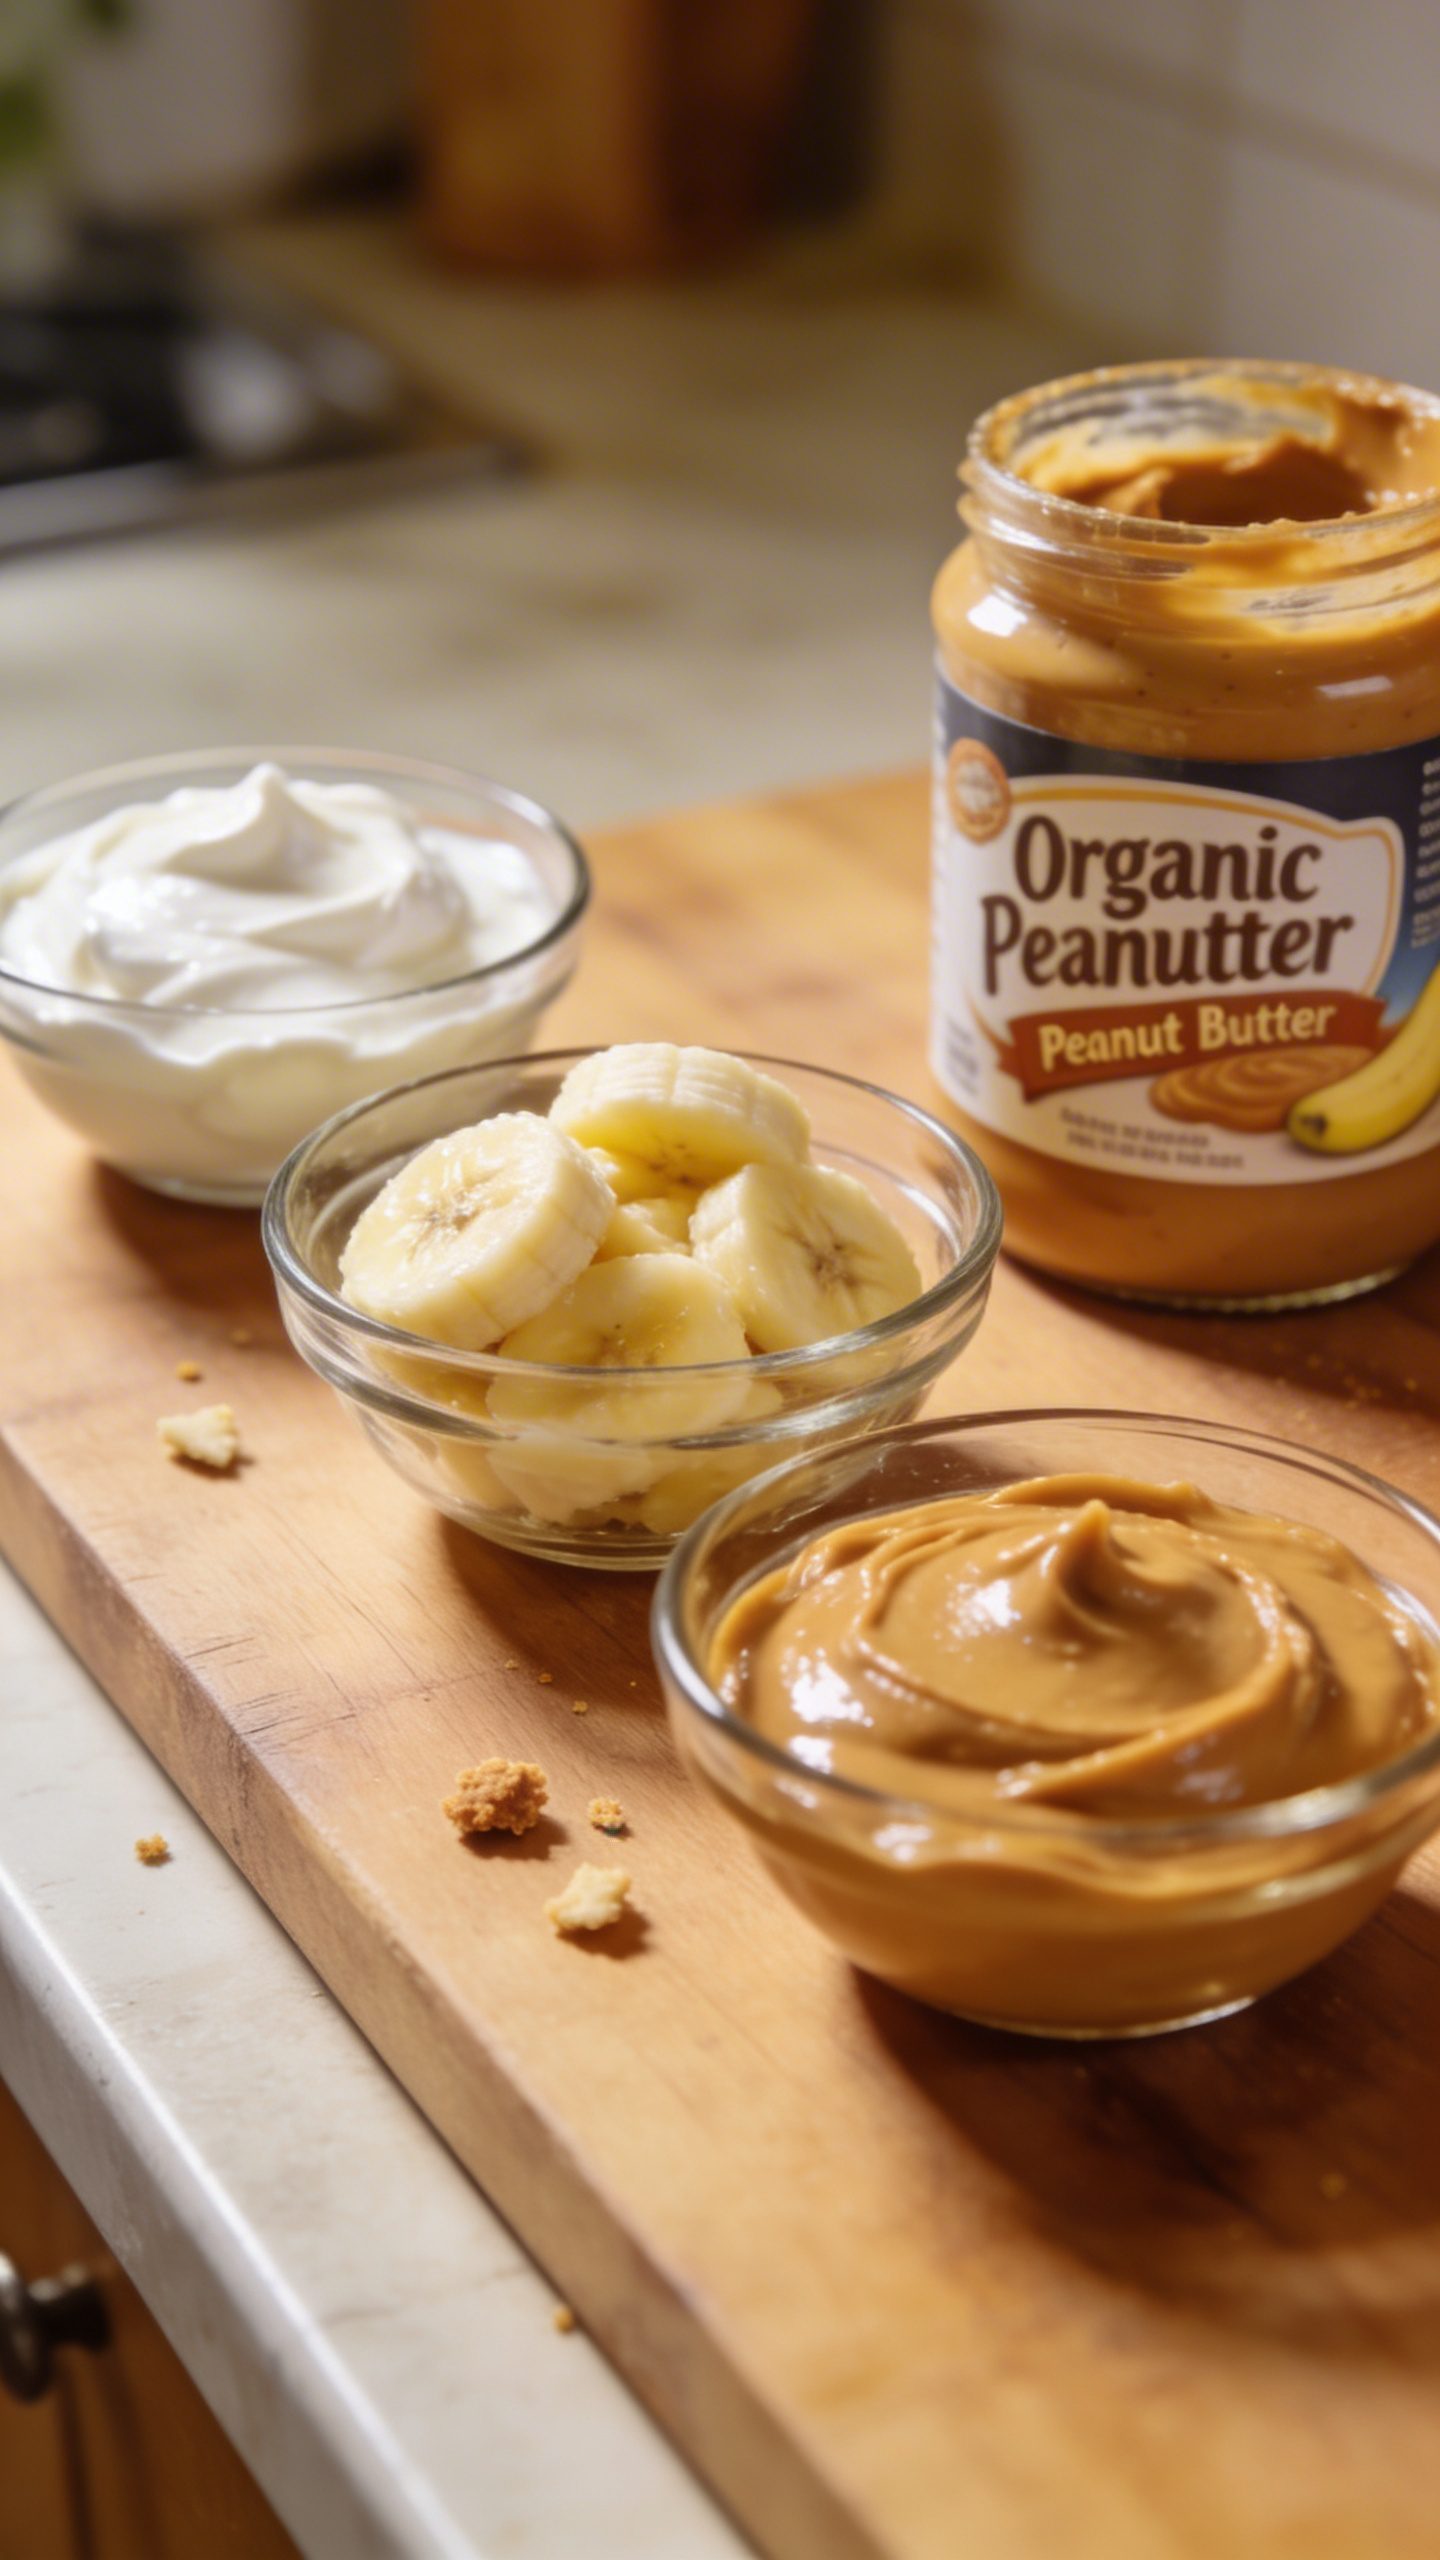
Plain, unsweetened Greek yogurt is your new best friend. Here’s what makes it genius: the thick texture holds its shape way better than you’d expect, especially if you strain it through cheesecloth for 30 minutes first. Want colors? Toss the yogurt in a food processor with dog-safe ingredients. Blueberries create a purple-ish hue, strawberries give you pink, and a tiny bit of spirulina powder makes green. Just pulse until smooth, and you’ve got naturally colored icing that won’t stain your dog’s face for three days (though honestly, the photos of purple-faced pups are pretty adorable). Pro tip: Freeze your yogurt-frosted treats for 20 minutes before serving. This firms everything up and creates a texture that’s halfway between frosting and ice cream. Your dog won’t complain.
Hack #2: The Peanut Butter Piping Bag Trick
You know what pipes beautifully and tastes like heaven to dogs? Slightly thinned peanut butter. Mix your standard dog-safe peanut butter (check that label for xylitol!) with a tablespoon of coconut oil, and boom – you’ve got pipeable perfection.
Getting the Consistency Right
Here’s the ratio that works: three parts peanut butter to one part melted coconut oil. Mix them while the coconut oil is still warm (not hot), and you’ll get this silky, smooth mixture that glides through a piping bag like a dream. The coconut oil will harden slightly at room temperature, which means your designs actually STAY where you put them. No more sad, droopy rosettes. FYI, this also works as a “glue” for sticking dog-safe decorations onto treats.
Temperature Matters More Than You Think
Work in a cool kitchen – seriously. If your house is 75 degrees or warmer, this hack gets messy fast. I learned this the hard way during a summer heat wave when my beautiful paw print decorations melted into abstract art within minutes.
Hack #3: Cream Cheese Stability Secret
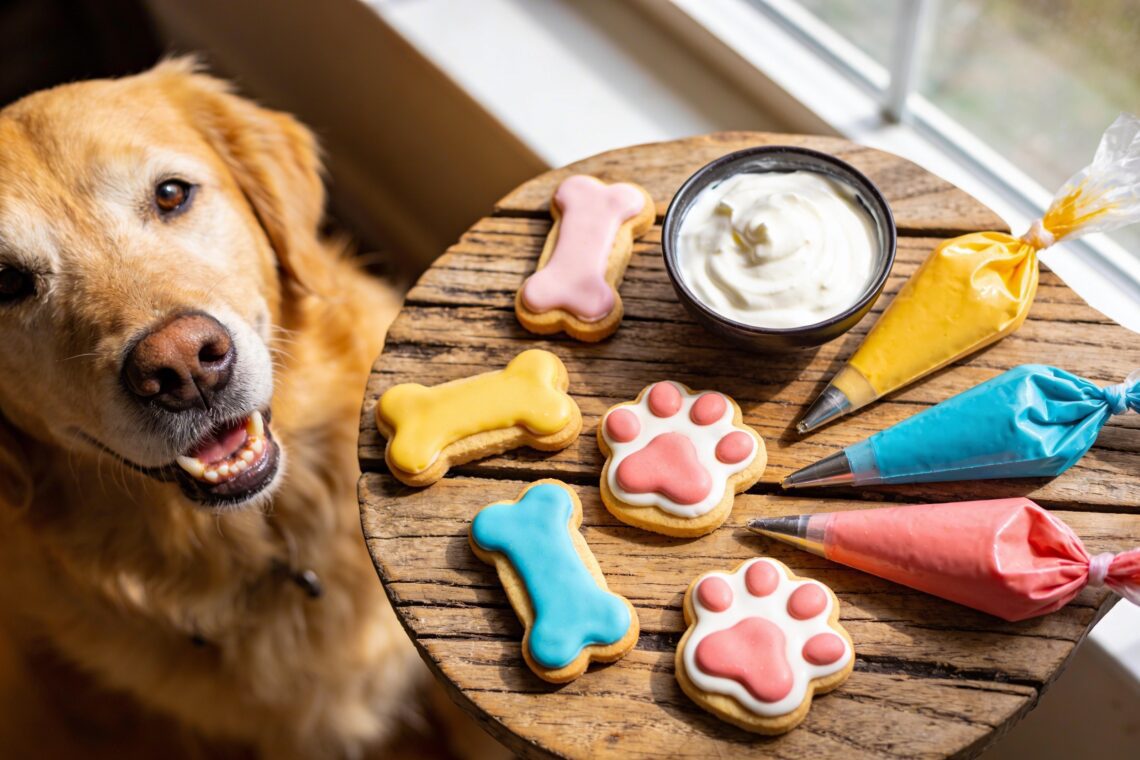
Plain cream cheese (the full-fat kind, not the weird spreadable stuff) holds its shape incredibly well when you add one secret ingredient: tapioca starch. Just one teaspoon of tapioca starch per quarter cup of cream cheese transforms it from “kinda holds together” to “legit bakery quality.” Mix the cream cheese until it’s fluffy, sprinkle in the tapioca starch, and beat it for another minute. The result? Frosting that you can pipe into actual shapes that don’t immediately collapse. You can even do those fancy ruffled edges on “pupcakes” that look super complicated but are actually pretty easy. This mixture also plays nice with natural food colorings. I’ve had great success with beet powder (pink/red), turmeric (yellow), and activated charcoal (black – yes, it’s dog-safe in tiny amounts and looks SO cool).
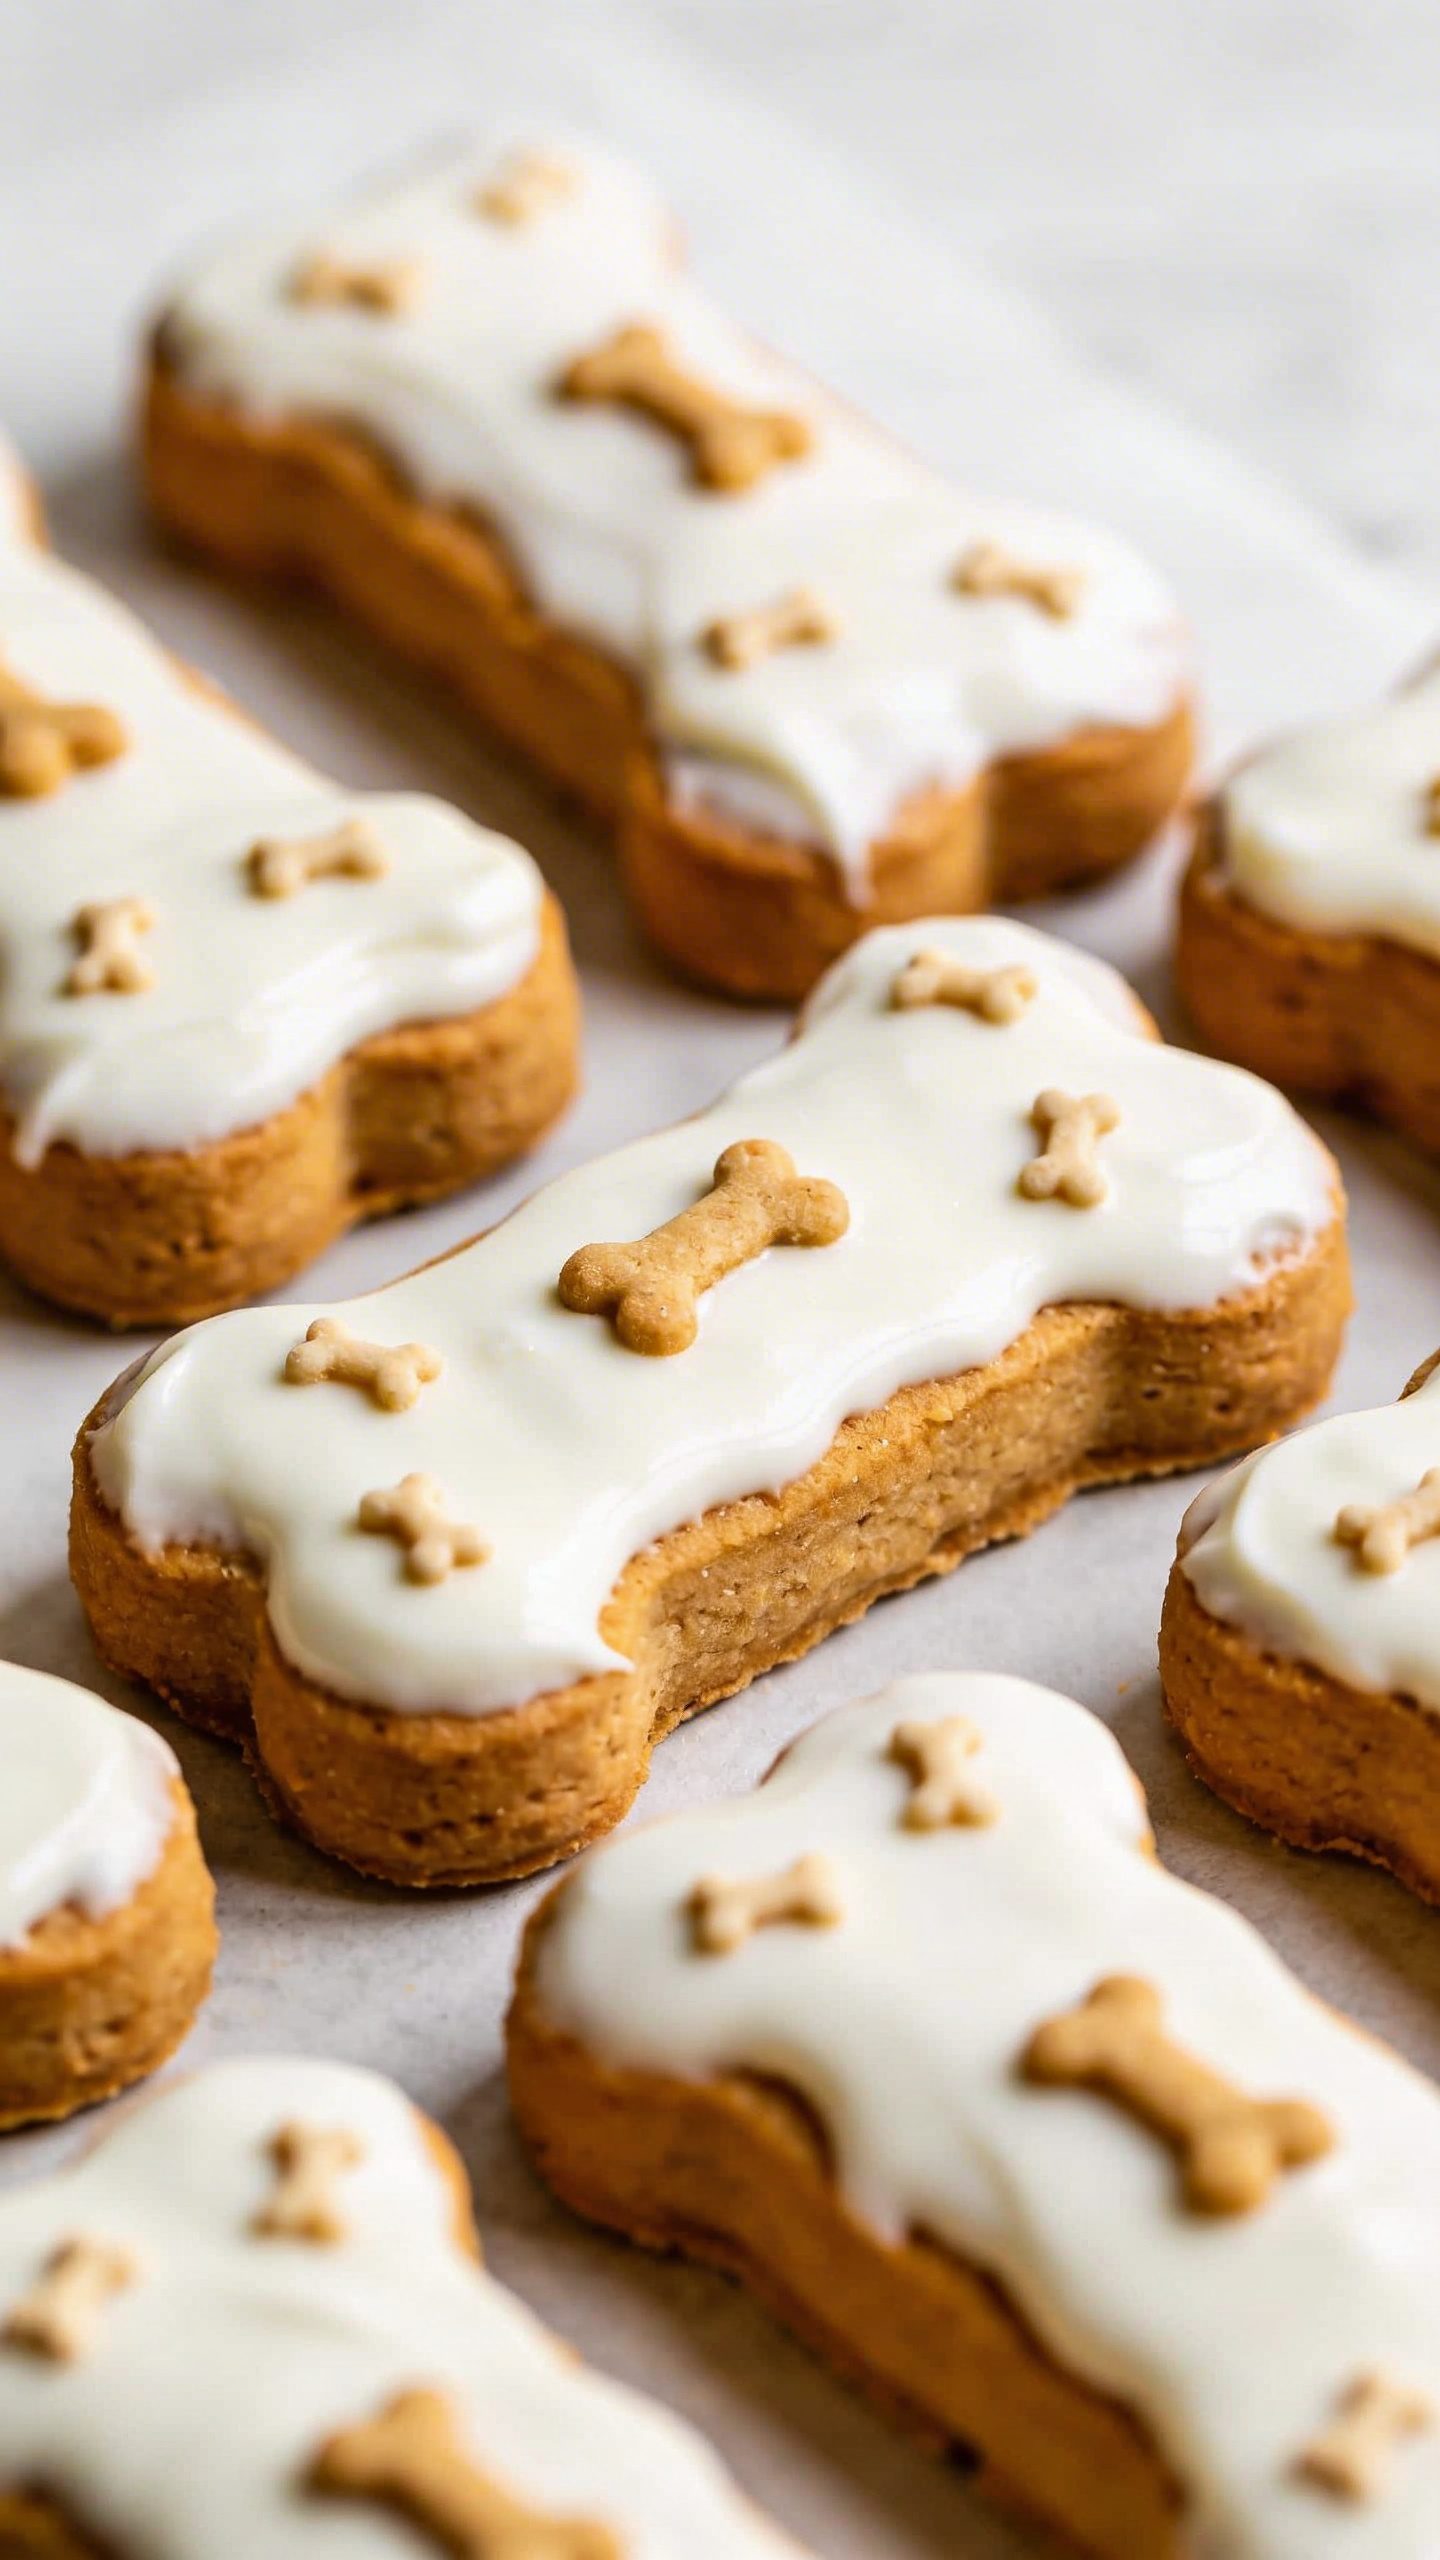
Hack #4: The Freeze-and-Dip Method
Want that smooth, professional coating without the professional skills? Freeze your treats solid first, then dip them in slightly warmed dog-safe “icing.” The temperature difference creates this magical effect where the coating sets almost instantly. For the coating, try mixing unsweetened carob chips (dog-safe chocolate alternative) with a bit of coconut oil. Melt them together, let the mixture cool for five minutes, then dip away. The frozen treat cools the coating so fast that you get a smooth, even layer with zero drips. You can also use this method with the thinned peanut butter mixture from Hack #2. The possibilities are honestly endless, and you’ll look like you know what you’re doing even if you’re totally winging it.
Hack #5: Silicone Molds are Your Cheat Code
Listen, piping bags are cool and all, but sometimes you just want to skip the whole “developing fine motor skills” thing. Silicone molds let you create perfect shapes every single time without any decorating talent required. Pour your yogurt or cream cheese mixture into bone-shaped, paw print, or heart molds, freeze them, and then pop them onto your dog treats as toppers. They look incredibly professional, and your dog absolutely cannot tell the difference between this and actual piping work.
Layering for the Win
Want to get fancy? Pour one color, freeze for 10 minutes, then add another color. You can create striped or layered decorations that look ridiculously impressive. IMO, this is the easiest way to make people think you spent way more time than you actually did.
Hack #6: Applesauce Glaze for Easy Shine
Sometimes you don’t need thick frosting – you just want that glossy, bakery-fresh look. Unsweetened applesauce reduced on the stove becomes this gorgeous, paintable glaze that adds shine and a hint of sweetness. Simmer a cup of applesauce for about 15 minutes until it reduces by half. Let it cool slightly, then brush it over your dog treats. The natural pectin in apples creates a glaze that sets with a beautiful sheen. It’s basically the same science behind apple jelly, just less intense. This works especially well on dog cookies and biscuits. You can even mix in a tiny bit of cinnamon (dog-safe in small amounts) for extra flavor and a slightly darker color.
Hack #7: The Stencil and Dust Technique
If you’re decorating-challenged like me, stencils are about to change your life. Place a stencil on your frosted treat and dust it with carob powder, dried blueberry powder, or any other dog-safe colored powder. Lift the stencil, and you’ve got a perfect design. You can buy stencils or make them yourself from food-safe acetate sheets. Hearts, paw prints, your dog’s name – whatever you want. The contrast between the frosting and the dusted design looks super professional with basically zero skill required. This technique works best on lighter-colored frostings (like the cream cheese or yogurt bases). The darker the powder, the more dramatic the effect.
Frequently Asked Questions
How long do these dog-safe icings last?
Most of these frostings need refrigeration and will last about 3-5 days in an airtight container. The yogurt-based options have the shortest shelf life, while cream cheese lasts a bit longer. You can freeze decorated treats for up to three months – just thaw them in the fridge before serving. The texture might change slightly after freezing, but your dog definitely won’t file a complaint.
Can I use regular food coloring from the grocery store?
Technically, small amounts of standard food coloring aren’t toxic to dogs, but I prefer sticking with natural options when possible. Fruit and vegetable powders give you plenty of color choices without any weird artificial ingredients. Plus, they often add a subtle flavor boost that makes the treats even tastier. If you do use regular food coloring, use it very sparingly.
My icing keeps melting even though I’m using these hacks. What am I doing wrong?
Temperature is probably your culprit. These dog-safe frostings are more temperature-sensitive than traditional buttercream because they don’t contain all that stabilizing sugar and butter. Work in a cool kitchen, refrigerate treats between decorating steps, and consider serving them chilled. Also, make sure you’re not over-thinning your mixtures – too much liquid will prevent them from setting properly.
Are there any ingredients I should absolutely avoid in dog icing?
Yes! Never use xylitol, chocolate, macadamia nuts, grapes/raisins, or excessive amounts of sugar or salt. Also skip garlic, onions, and nutmeg. When buying peanut butter or any processed ingredient, always check the label. Some brands sneak in xylitol or other sweeteners that are dangerous for dogs. Stick with whole, recognizable ingredients and you’ll be fine.
Do I really need special piping bags and tips?
Nope! A regular zip-top bag with the corner snipped off works totally fine for most of these hacks. If you want to get fancier, a simple piping bag set costs less than $10 and will last forever. But honestly, between the silicone mold hack and the stencil technique, you can make gorgeous treats without piping anything at all.
Can I make these icings ahead of time?
Absolutely. The cream cheese and peanut butter mixtures actually work better after sitting in the fridge for an hour – they firm up to the perfect consistency. Make them a day ahead, store them in airtight containers, and just bring them to room temperature (or slightly warm them) before using. The yogurt mixture is best made fresh, but you can prep it a few hours ahead if needed.
Making Those Instagram-Worthy Treats at Home
You don’t need culinary school or expensive equipment to make dog treats that look like they came from a fancy pet bakery. These seven hacks prove that with the right techniques and dog-safe ingredients, you can create decorated treats that’ll make other dog parents ask where you bought them. Start with one or two hacks that seem easiest to you. Maybe try the silicone mold trick first since it requires zero artistic ability, or experiment with the Greek yogurt base if you want something super simple. Once you get comfortable, mix and match techniques to create your own signature style. Your dog will be thrilled either way – let’s be honest, they’d eat a plain biscuit with the same enthusiasm – but there’s something genuinely fun about making treats that look as good as they are safe. Plus, the photos you’ll get are absolutely worth it.