Your dog stares at you like you’re a vending machine with legs. You want to give them something tasty, safe, and not full of mystery ingredients. Enter homemade beef dog chew sticks: simple, satisfying, and way cheaper than those boutique options.
You control the ingredients, your dog gets a legit chew, and your wallet sighs with relief. Ready to DIY some tail-wagging magic?
Why Make Your Own Beef Chews?
You know exactly what goes in. No fillers, no dyes, no “natural flavor” that sounds suspiciously vague.
Just beef, patience, and an oven (or dehydrator). Store-bought chews cost a lot for what they are. You can turn an inexpensive cut into a week’s worth of chews with minimal effort.
That’s a win for you and your drooly sidekick. Plus, dogs love the texture. Chewing calms them down, helps clean teeth, and beats the boredom beast.
You want a content dog? Give them something tough to work on.
Best Cuts of Beef for Chew Sticks
You want lean, fibrous meat that dries firm and chewy. Think more “jerky” than “steak.”
- Beef top round or bottom round: Affordable, lean, and easy to slice into long strips.
- Eye of round: Another lean MVP with minimal fat to trim.
- Flank or skirt steak: Great texture; slice with the grain for extra toughness.
- Beef heart: Budget-friendly, very lean, and surprisingly sturdy when dried.
Fat equals spoilage, so trim aggressively.
Fat won’t dehydrate well and can turn rancid. Your future self will thank you.
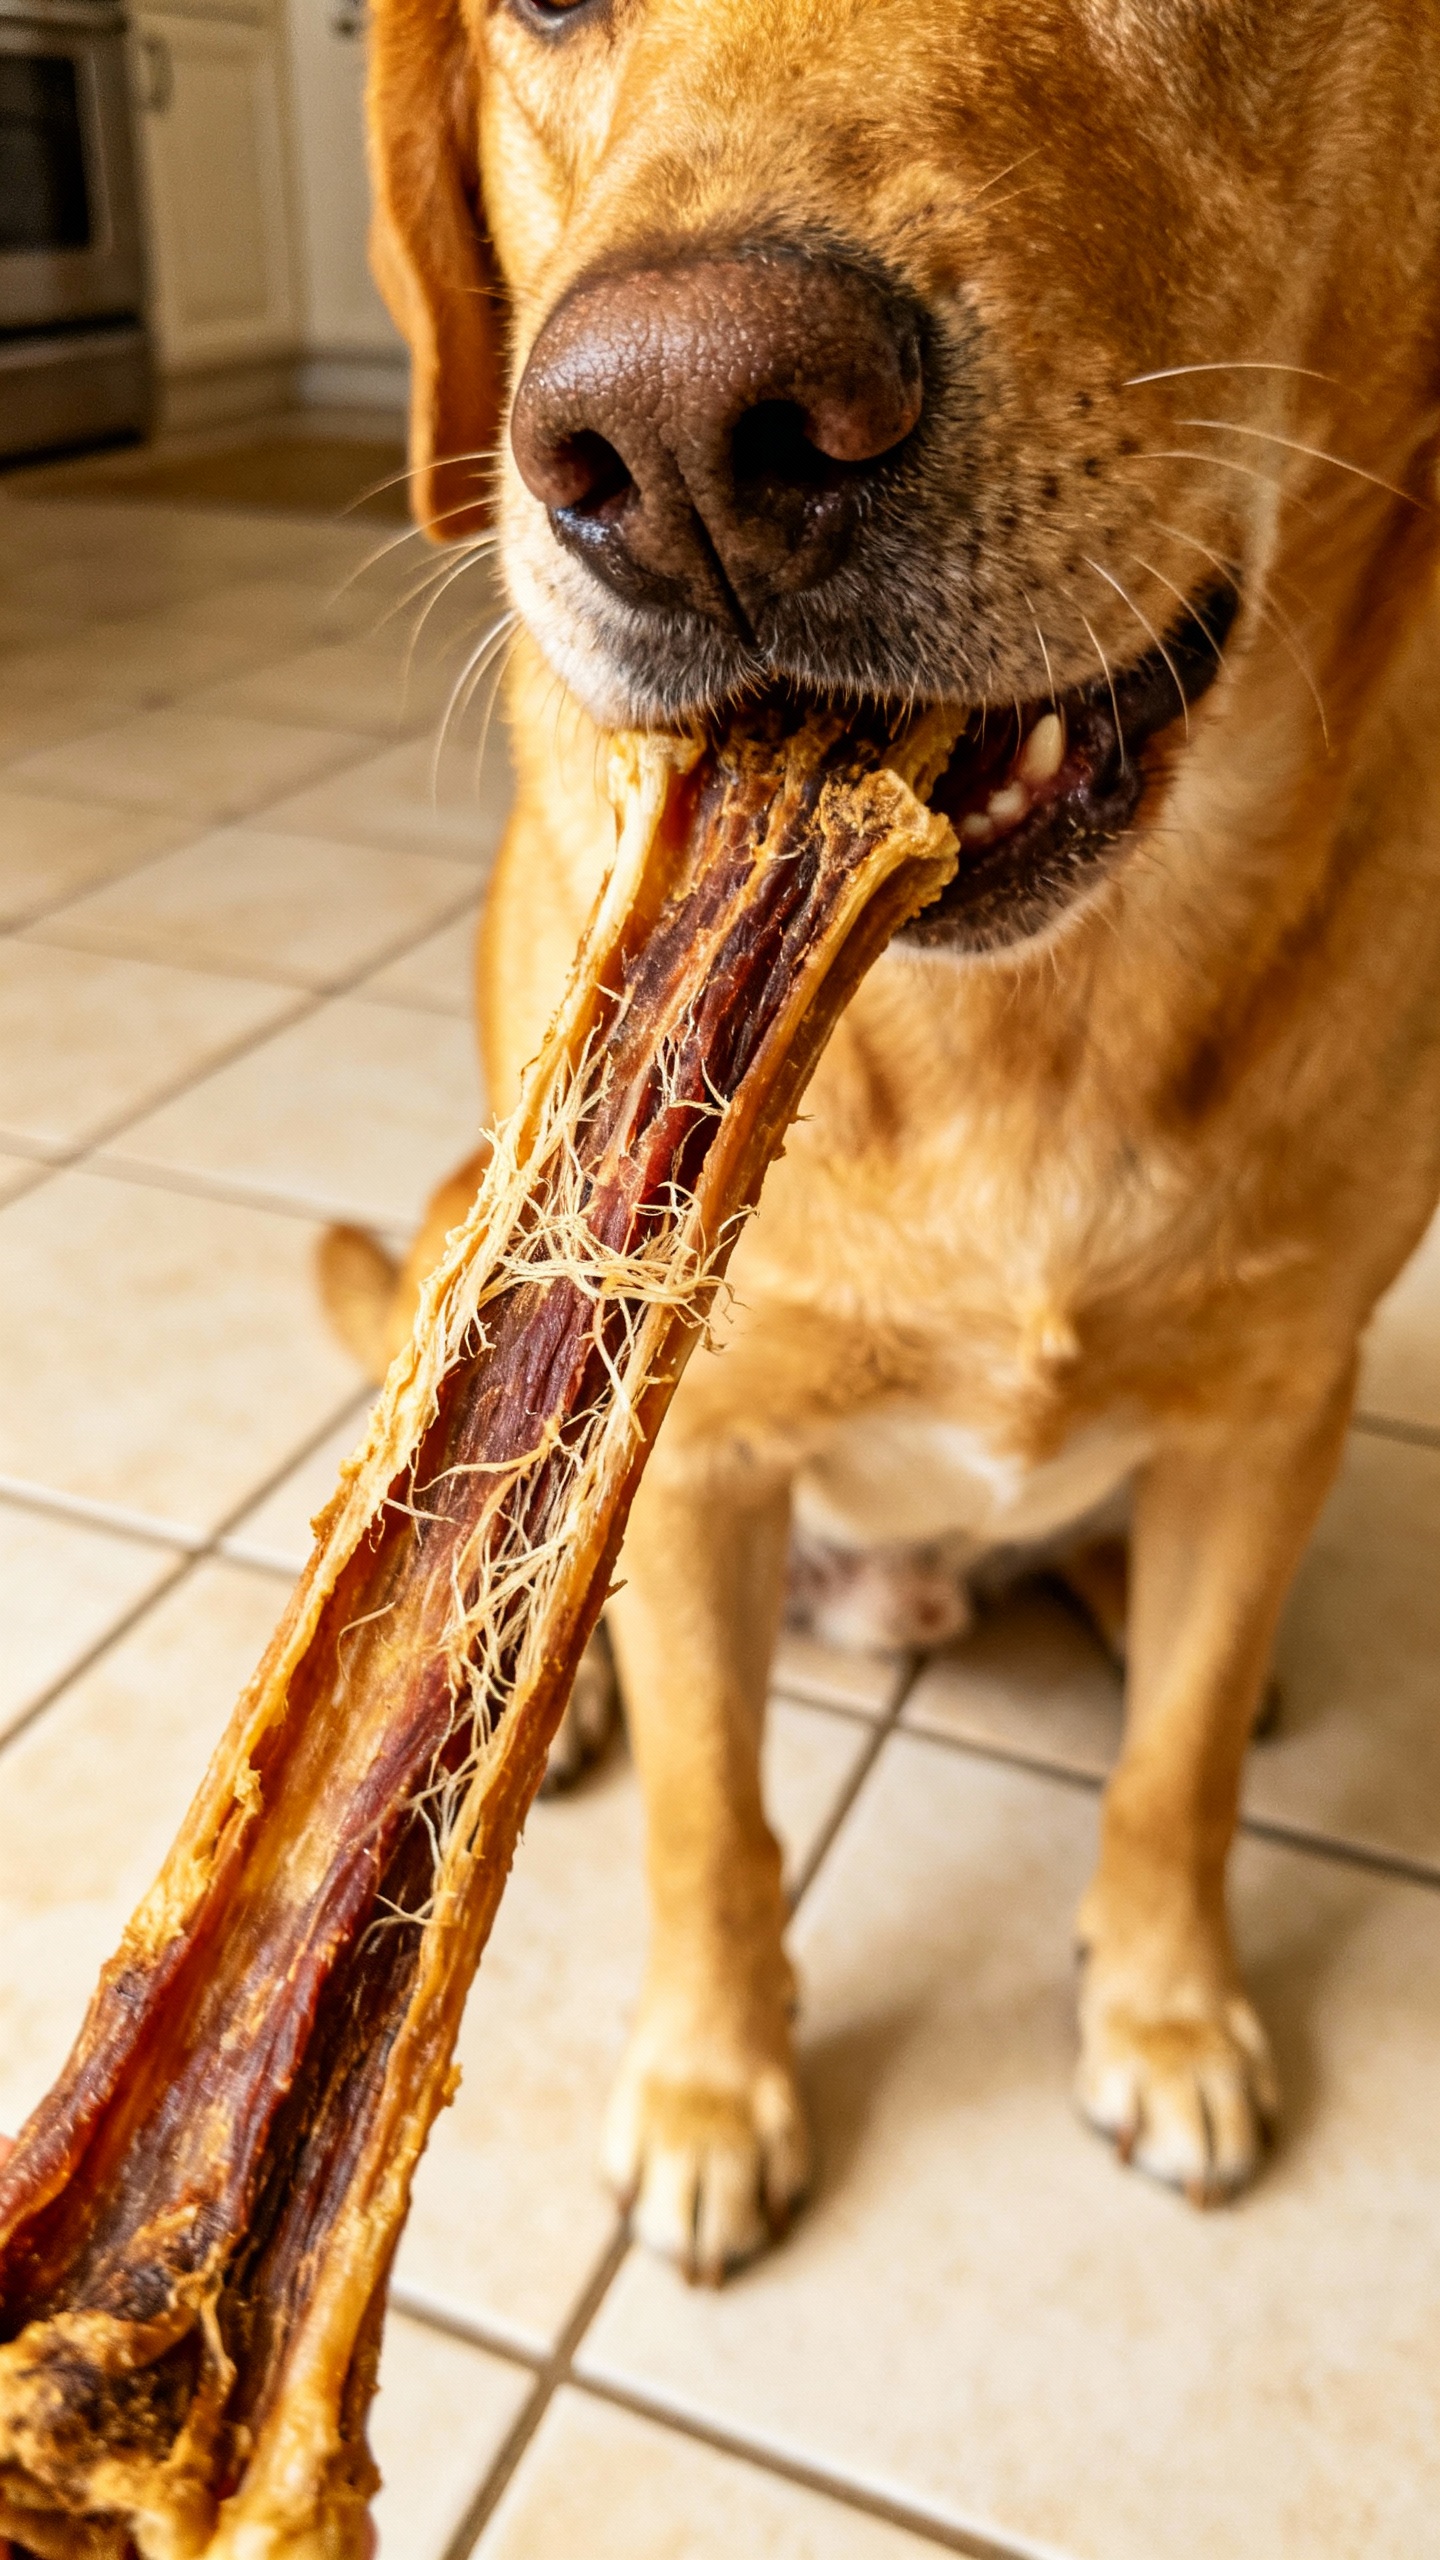
What About Tendons or Esophagus?
Those make amazing natural chews too, FYI. If your butcher stocks beef tendons or esophagus (a.k.a. “gullets”), grab them.
They dehydrate into tough, long-lasting chews that dogs go nuts for.

Simple, No-Nonsense Recipe
You don’t need culinary wizardry. Just a sharp knife and a low oven. Ingredients
- 2–3 pounds lean beef (top/bottom round, eye round, flank, heart)
- Optional: a sprinkle of turmeric or parsley (for aroma only, not flavoring)
Equipment
- Sharp knife and cutting board
- Dehydrator or oven with lowest setting (170–200°F / 75–95°C)
- Wire rack + baking sheet, or dehydrator trays
- Paper towels
Method
- Trim all visible fat. Aim for lean strips that dry evenly.
- Slice into ½-inch thick strips.
Cut with the grain for tough, long-lasting chews. Short on time? Cut thinner for faster drying.
- Pat the strips dry.
This helps them crisp up and prevents steaming.
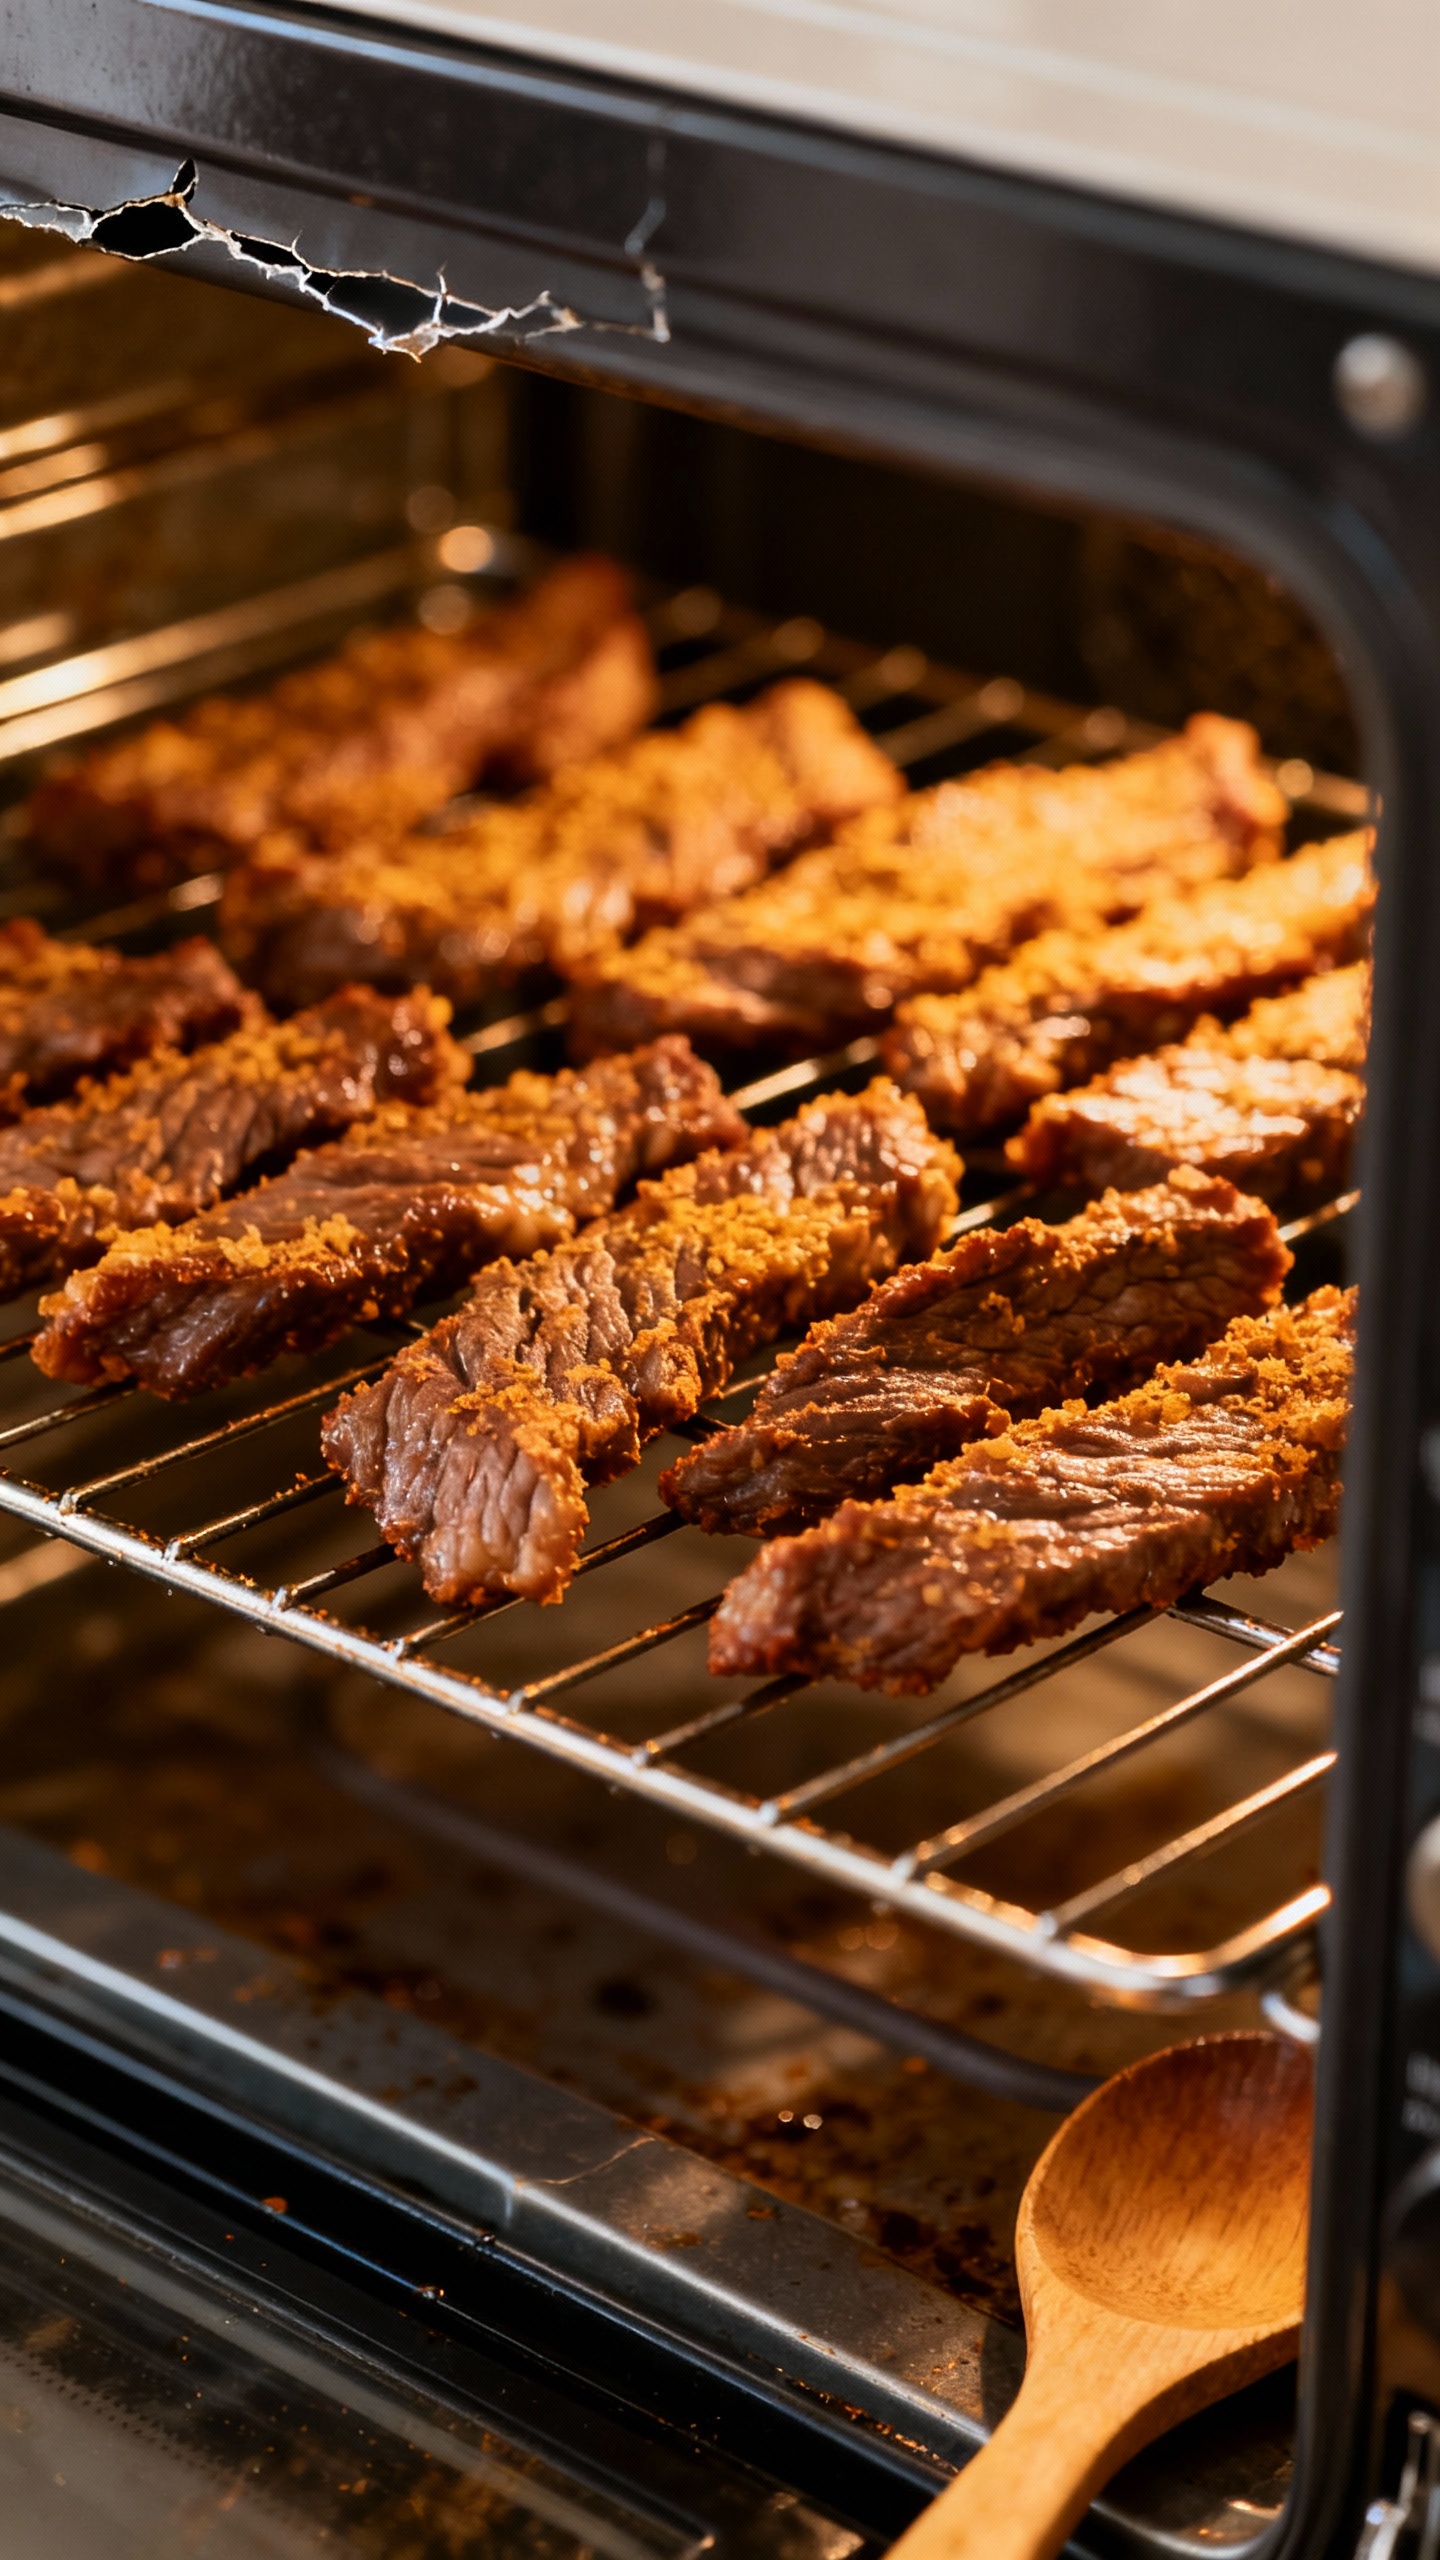
- Arrange on racks so air circulates around each piece.
- Dry in a dehydrator at 160°F/71°C if possible, or in an oven at its lowest setting. Crack the oven door with a wooden spoon for airflow.
- Flip halfway through if using an oven. Rotate trays for even drying.
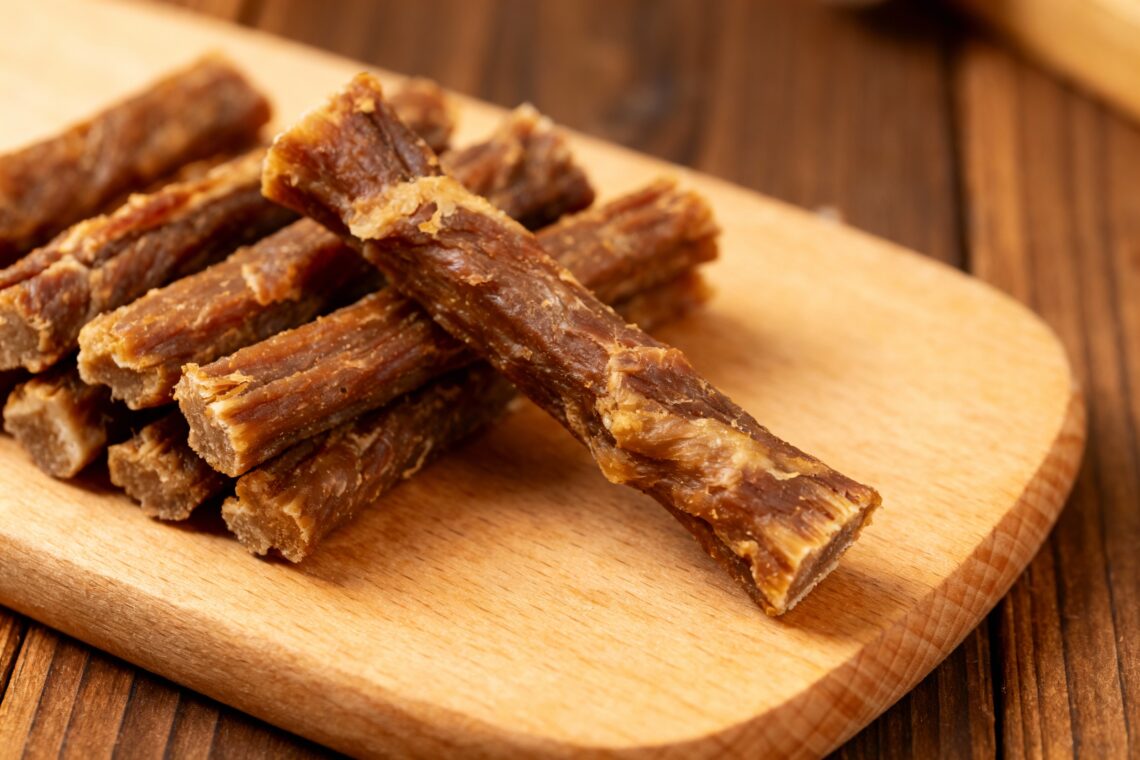
- Dry 4–8 hours depending on thickness.
Chews should feel firm, dry, and slightly bendy, not brittle or moist.
- Cool completely on a rack. This prevents trapped steam (aka soggy disaster).
Don’t want heavy meat odor in your kitchen? Use a dehydrator in the garage or back porch. Your neighbors might ask for a sample.
For their dog, of course.
Safety First
- Heat to 160°F/71°C internally at some point to reduce pathogen risk. You can preheat strips in a 275°F/135°C oven for 10–15 minutes, then drop to dehydrating temp.
- Skip salt, onion, garlic, and anything sugary. Not dog-friendly.
- Supervise the first chew session and watch for gulping or over-enthusiastic swallowing.
Flavor Tweaks (That Won’t Upset Tummies)
Dogs don’t need fancy marinades.
But if you want to add mild aroma without salt or sugar, try:
- Turmeric (a pinch): earthy scent, pretty color, anti-inflammatory vibes IMO.
- Parsley: fresh, mild, and adds a hint of green goodness.
- Bone broth (unsalted): brief soak, then pat dry before dehydrating.
Avoid smoked seasonings, liquid smoke, or spicy blends. That’s for your steak, not your floof.
Storage, Shelf Life, and Food Safety
You put in the effort—don’t let mold ruin the party. Store smart.
- Cool completely before storing.
Warm chews trap condensation.
- Short-term: Airtight jar or bag at room temp for up to 3–5 days.
- Fridge: Up to 2–3 weeks in an airtight container with a paper towel to absorb moisture.
- Freezer: 3 months or more. Thaw in the fridge or give slightly frozen for extra chewing challenge.
- Check regularly for moisture pockets or off smells. When in doubt, toss it out.
How to Test Dryness
Bend a strip.
It should flex and show fibers but not feel wet or squish in the middle. If unsure, keep drying in 30-minute increments.
Serving Sizes and Chewing Tips
Different dogs, different jaws. Adjust size and frequency.
- Toy breeds: Thin, narrow strips; 10–15 minutes per session.
- Medium dogs: Standard ½-inch strips; monitor for gulping.
- Large power chewers: Thicker cuts or tendons; give under supervision.
Keep an eye on calories.
These are protein-dense snacks. Balance with regular meals and fresh water. And yes, you’ll hear crispy chewing noises.
Music to a dog parent’s ears.
Troubleshooting Common Issues
Let’s fix what annoys you so you don’t rage-quit this project.
Chews Turned Out Too Soft
Dry longer or slice thicker with the grain. You may need more airflow; use a rack, not a flat sheet.
Chews Look Greasy
Trim fat better next time. Pat the strips mid-dry with paper towels to wick away melted fat.
Dog Loses Interest
Try a short bone-broth soak before drying or switch to beef heart or esophagus for different textures.
Rotate proteins occasionally (chicken, turkey) if your dog tolerates them.
Budget and Sourcing Tips
Butcher counters often have markdowns on roasts. Ask for end pieces or “stew meat” that you can slice yourself. You can also buy whole rounds at warehouse clubs and prep a month’s worth in one go.
FYI, a $30 dehydrator off a buy-and-sell site works fine for dog chews. No need for the spaceship model.
FAQs
Can I use ground beef?
You can, but it won’t make solid sticks without a binder and casing. If you want a jerky-style chew, press ground beef thin between parchment and dehydrate, but expect a faster-eating treat, not a long chew.
How long should my dog chew one stick?
Start with 10–15 minutes, especially for first-timers.
Watch how aggressively your dog chews and adjust. If they try to swallow big pieces, take a break and offer smaller strips next time.
Are homemade beef chews safe for puppies?
Yes for older puppies that can handle chewing, but choose thinner, softer strips and supervise closely. Avoid very tough tendons for baby teeth.
When in doubt, ask your vet about age-appropriate textures.
Do I need a dehydrator?
Nope. An oven on low with the door cracked works. A dehydrator just makes it easier and keeps the smell out of your main kitchen zone, IMO.
What if my dog has allergies?
Keep it single-ingredient: just beef.
Skip any spices. If beef triggers issues, try the same process with turkey breast or venison. Always check with your vet if you suspect sensitivity.
How do I prevent bacteria?
Use lean, fresh meat, keep everything clean, and bring the strips to 160°F/71°C at some point.
Chill promptly after drying if you won’t store at room temp. Simple habits, big safety payoff.
Conclusion
Homemade beef dog chew sticks give you control, save cash, and make your dog insanely happy. You slice, you dry, you store, and your pup thinks you’re a culinary genius.
Keep it lean, keep it simple, and supervise the chew sessions. Once you see that tail helicopter, you’ll never go back to mystery-ingredient chews again. IMO, that’s a pretty great trade.