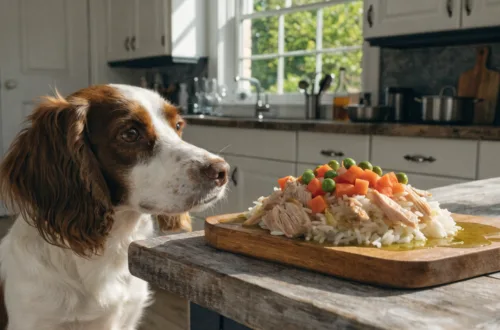
A good snack can turn a rough day into a tail-wagging victory. If you’ve ever wondered how to whip up dog-friendly jerky in the oven without turning your kitchen into a science experiment, you’re in the right place. These 5 easy homemade dog jerky treats are simple, safe, and ready to share with your pup today. Let’s dive in and keep it tasty.

Why homemade jerky, and why in the oven?
If you’ve ever stared at the grocery store shelf and thought, “There has to be a better option for my dog,” you’re not alone. Commercial jerky can be okay, but it’s not always transparent about ingredients. Making your own gives you control over every single thing your dog munches on.
An oven-based approach is friendly for weekend warriors. You don’t need fancy dehydrators, and the results inch toward crunchy or chewy perfection depending on how you bake. Plus, the whole thing smells amazing in a at-home kitchen—your pup will start doing tricks just for the aroma. FYI, you’ll probably want a fan on and a towel handy for the snout-nudges that follow.
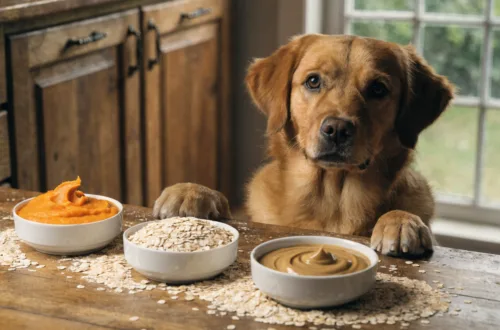
What you’ll need to get started
Before you preheat the oven, gather these simple tools and ingredients. You’ll be surprised how quick this comes together.
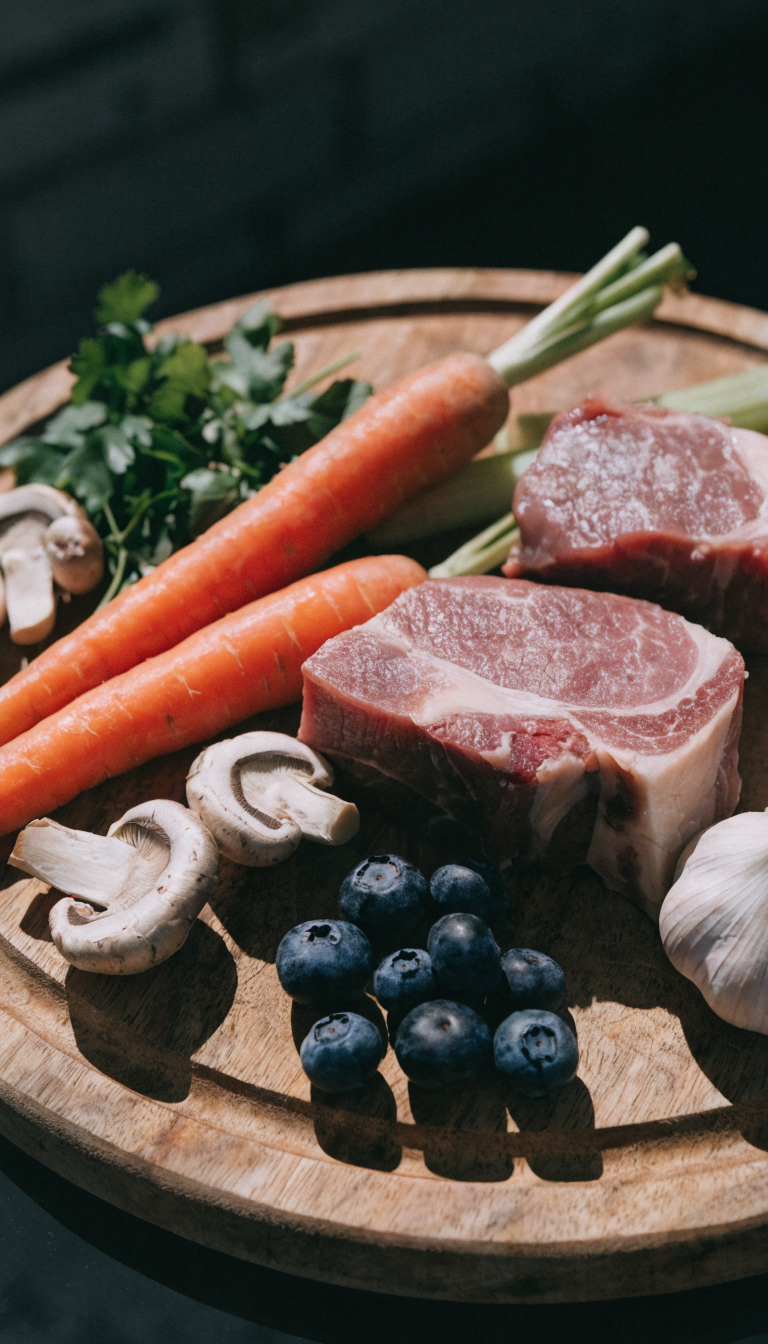
- Protein options: chicken breast, turkey breast, beef, or salmon are my go-tos.
- Binder (optional): an egg white or a little yogurt can help slices hold together, but skip dairy if your pup has sensitivities.
- Flavor enhancers (optional): a splash of low-sodium broth or a pinch of dog-safe herbs like parsley. Skip salt, garlic, and onions—those are big no-nos for dogs.
- Cutting tools: a sharp knife and a stable cutting board. A meat slicer is helpful if you have one, but not required.
- Baking sheet and parchment paper or a nonstick mat
- Cooling rack (optional but nice for even drying)
Recipe 1: Simple Chicken Jerky that actually tastes like chicken
This one is as classic as it gets. Clean, lean, and ridiculously easy.
- Preheat the oven to 180°C (350°F). Yes, we’re baking, not blasting—gentle heat yields better texture.
- Slice chicken breast into thin, uniform strips. Aim for as close to 1/4 inch as possible for even drying.
- Optional binder: whisk a little egg white and toss the strips to coat lightly. This helps the pieces stay together if you want a chewier texture.
- Lay strips on parchment-lined sheet in a single layer. Don’t overlap, please. Space is your friend here.
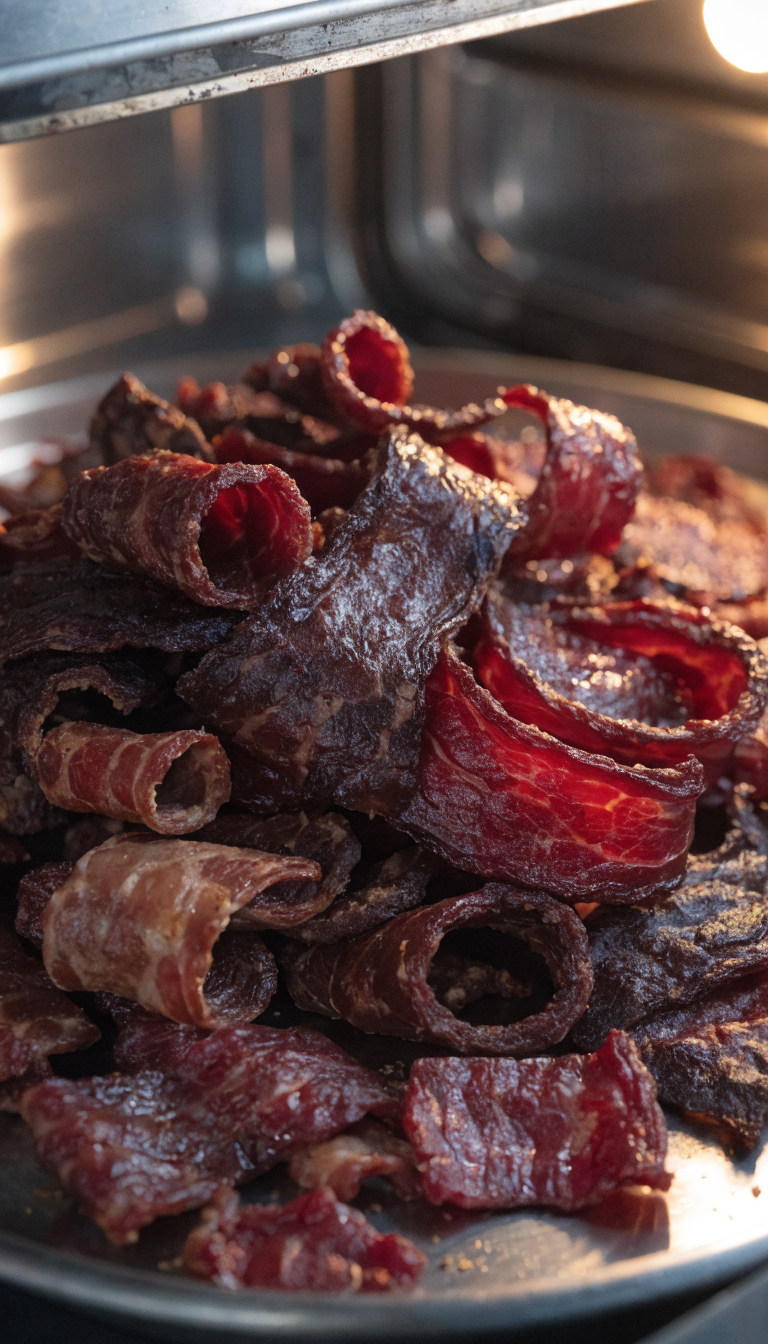
- Bake for 1.5 to 2 hours, flipping halfway. Watch for color and texture: you want them dry, not mushy.
- Cool completely on a rack. The air helps them crisp up and stops the interior from being chewy like rubber.
Pro tip: texture control
If you want more chew, bake a little less. If you crave crunch, dial the time up by 15-minute increments, then test a strip. No guessing here—you’re the boss of your oven.
Recipe 2: Turkey-licious Jerky with a herb twist
Dark meat can be yum and juicy, but white meat works beautifully here too. Add a tiny herbal zing for extra pop.
- Preheat to 180°C (350°F).
- Thinly slice turkey breast. Try to keep strips uniform for even drying.
- Lightly brush with a small amount of low-sodium broth and a pinch of parsley.
- Arrange on a parchment-lined sheet. Bake 1.5–2 hours, flipping halfway.
- Cool on a rack. Store in an airtight container for up to a week, or freeze for longer storage.
FAQ-friendly note: parsley worth it?
Parsley is mostly for color and a light scent. If your pup likes it, go for it. If you’re unsure about herbs, skip them and keep to plain turkey.
Recipe 3: Salmon Jerky for a shiny coat and happy wag
Fish fans deserve a treat that’s rich in Omega-3s and absolutely pawsome.
- Preheat to 180°C (350°F).
- Slice salmon into thin strips. Remove any bones and skin for safety.
- Optional binder: a whisper of yogurt can help hold together, but skip if your pup isn’t dairy-tolerant.
- Lay on parchment and bake 1–1.5 hours, flipping once.
- Cool completely before serving. Salmon jerky tends to be a touch more delicate—handle with care.
Safety sniff: mercury and serving size
Fish is great, but variety matters. Use salmon and other fish in moderation to avoid heavy metals accumulation. A few strips per serving is plenty for most dogs.
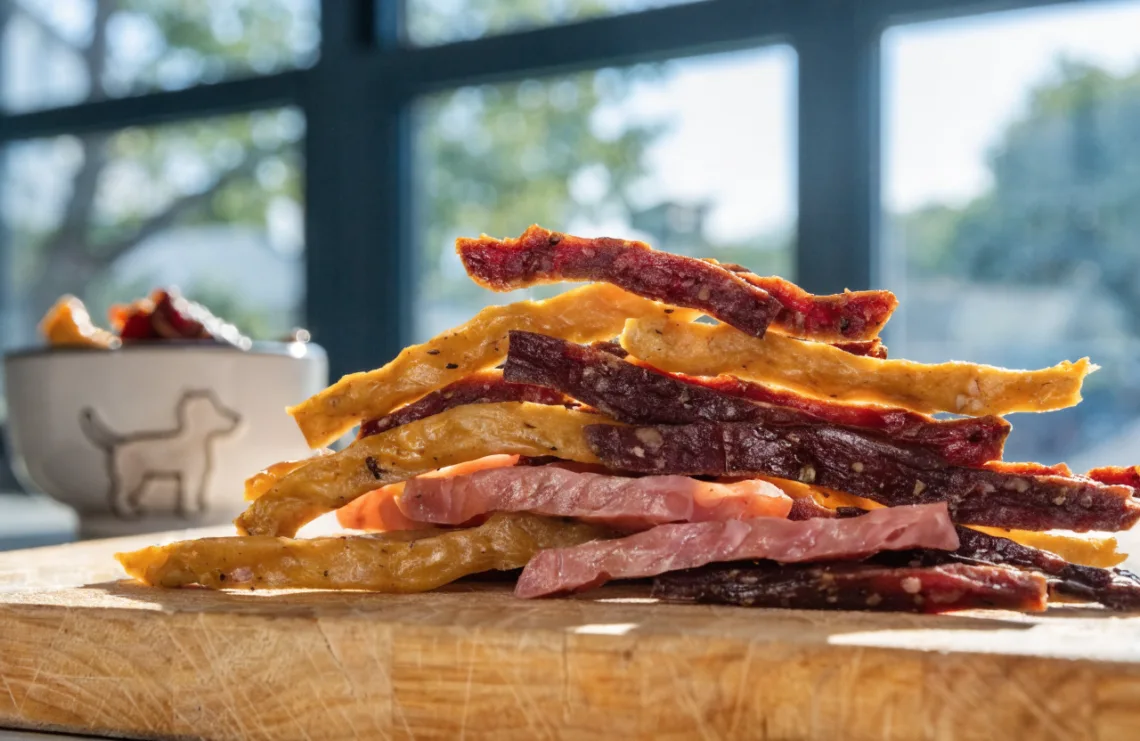
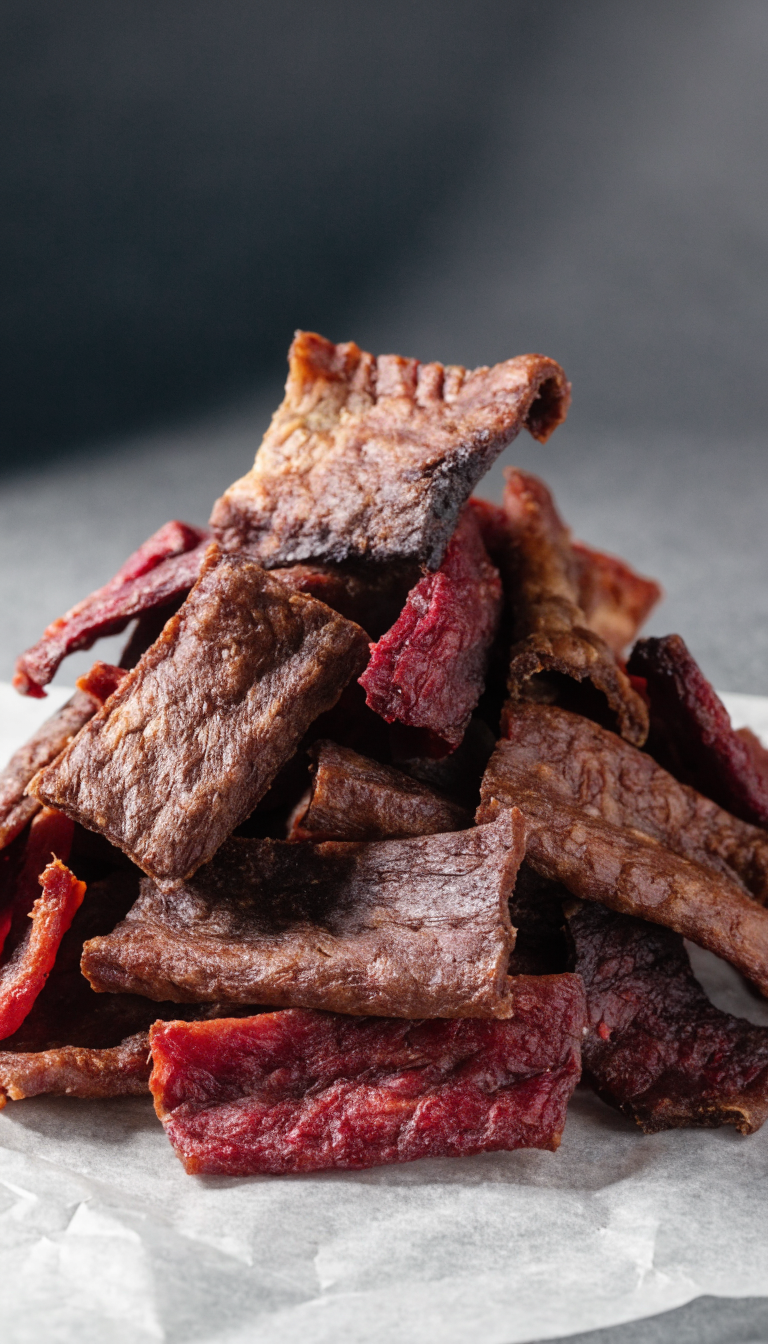
Recipe 4: Beefy bites that scream “treat time”
Beef jerky is a crowd-pleaser for many dogs, especially bigger breeds that crave something meaty.
- Preheat to 180°C (350°F).
- Slice lean beef into thin strips. Try to keep a consistent thickness for even drying.
- Optional binder: a light coating of egg white helps with chewiness.
- Space strips on a parchment-lined sheet and bake 1.5–2 hours, flipping once.
- Let them cool on a rack before bagging or sharing. They crisp up nicely and store well in an airtight container.
Why lean matters
Fat is tasty, but too much fat can upset sensitive stomachs. If your dog has a picky gut, go lean and skip extra fats or oils.
Recipe 5: Veggie-boosted chicken and carrot jerky
Yes, you can sneak veggies into jerky the right way. Carrots add color and a touch of sweetness without compromising doggy safety.
- Preheat to 180°C (350°F).
- Blend or finely chop carrots and mix with ground chicken or thin-sliced chicken. Carrots should be finely shredded so they dry evenly.
- Optional binder: beat in a small amount of egg white to hold the mix together.
- Spread a thin layer on parchment or shape into small strips. Bake 1–1.5 hours until dry and chewy, flipping halfway.
- Cool completely. Store as usual in an airtight container.
Bonus texture trick: layering
If you want a layered look, place a thin carrot strip between two chicken slices before baking. It creates little sandwich jerky bites that are adorable and tasty.
How long do these last, and how should you store them?
You’ve spent time making these; you want them to last. Proper storage keeps your pup’s treats fresh and safe.
- Room temperature: 3–4 days in an airtight container in a cool, dry place.
- Refrigerator: up to 2 weeks. Good if you bake in smaller batches and want quick access.
- Freezer: 2–3 months. Wrap each portion well or use freezer bags to prevent freezer burn.
Common mistakes to dodge (so your jerky doesn’t become doggy chalk)
We all mess up occasionally. Here are some easy fixes to keep your jerky pawtastic.
- Overlapping slices = uneven drying. Lay them flat with space around each piece.
- Too thick? They won’t dry well. Aim for 1/4 inch max.
- High heat = burnt edges. Use 350°F and check early for the first batch to calibrate.
- Salt and spices are off-limits. Keep it plain or with dog-safe herbs only.
- Storage slip-ups. Airtight containers are the secret sauce for lengthier freshness.
FAQ
Is it safe to use the oven for dog jerky every week?
Yes, as long as you keep portions reasonable and use lean cuts. Rotate protein sources to avoid excessive intake of any single nutrient. If your dog has dietary restrictions or health issues, check with your vet first.
Can I use any seasoning or marinade?
Stick to dog-safe options. Garlic, onions, high-sodium broths, and artificial flavors are off-limits. A tiny splash of plain broth or a sprinkle of parsley is about as far as you should go unless your vet approves something else.
How do I tell if the jerky is done?
Nice dry strips that crack slightly when bent show they’re done. If you can bend it but it’s still pliable and damp, give it a bit more time. When in doubt, test a small piece and see how your pup reacts—watch for excessive drool or a sudden fatigue, which might indicate overfeeding.
What if my dog has a sensitive stomach?
Keep it simple. Start with a single-protein batch (like chicken) and skip binders or extra fats. Bake shorter to avoid overly tough textures, and introduce gradually as a treat rather than a full meal supplement.
Do I need a dehydrator, or is the oven really fine?
Oven-baking works perfectly fine for most homes. A dehydrator can offer more precise texture control, but it’s not a must. If you love experimenting, you can eventually try a dehydrator to compare textures—but the oven is more than capable for weekend hobbyists.
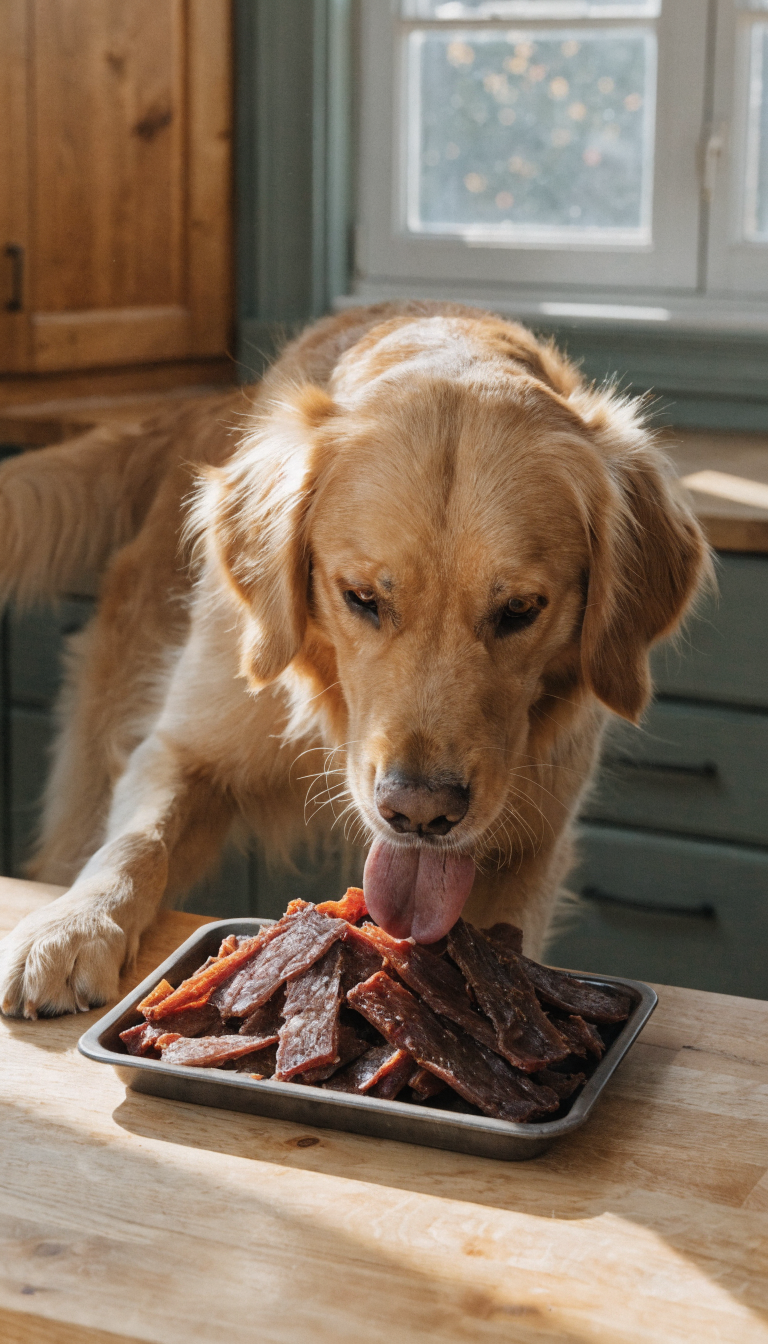
Conclusion
There you have it: five easy, foolproof oven-made dog jerky recipes you can pull off today. No fancy gear, no mystery ingredients, just lean meat, a little heat, and a lot of wagging tails. IMO, the best part is you know exactly what your pup is munching on, and you get to tailor flavors to your dog’s likes and sensitivities. FYI, your kitchen will smell oddly delicious for a bit, which is a small price to pay for happy, satisfied pups. Ready to bake, share, and brag about your canine culinary skills? Let the snacking begin.