Last updated: September 6, 2026
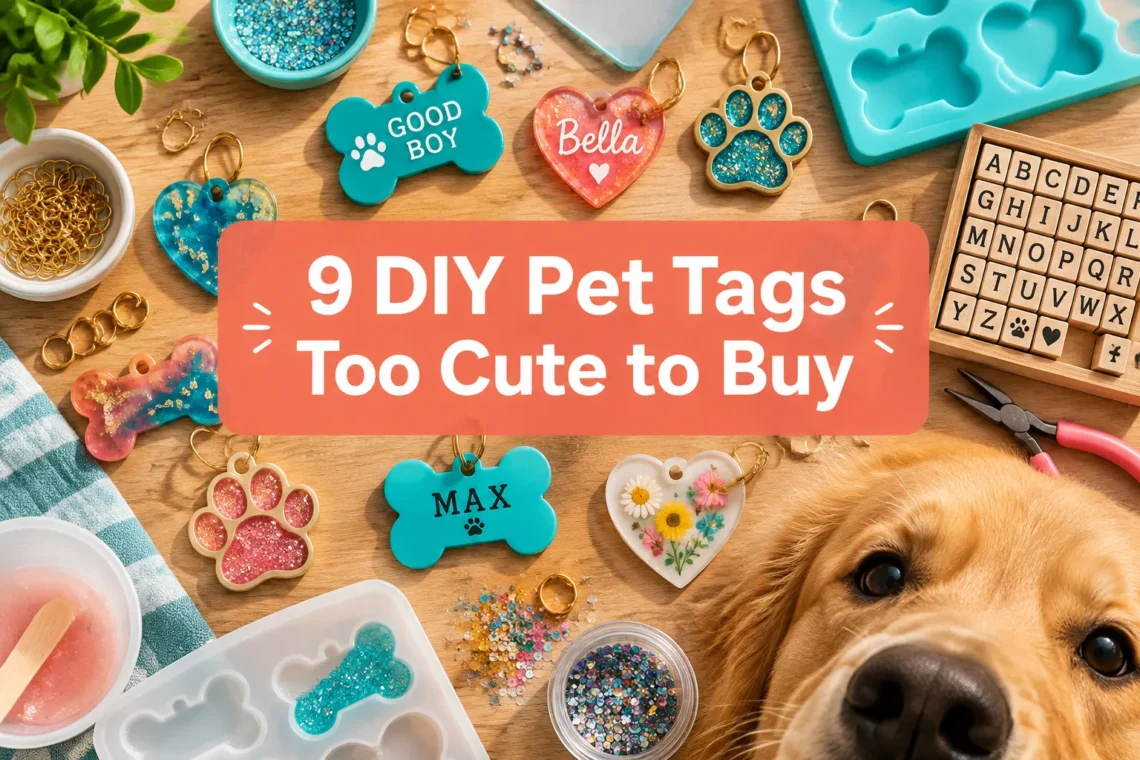
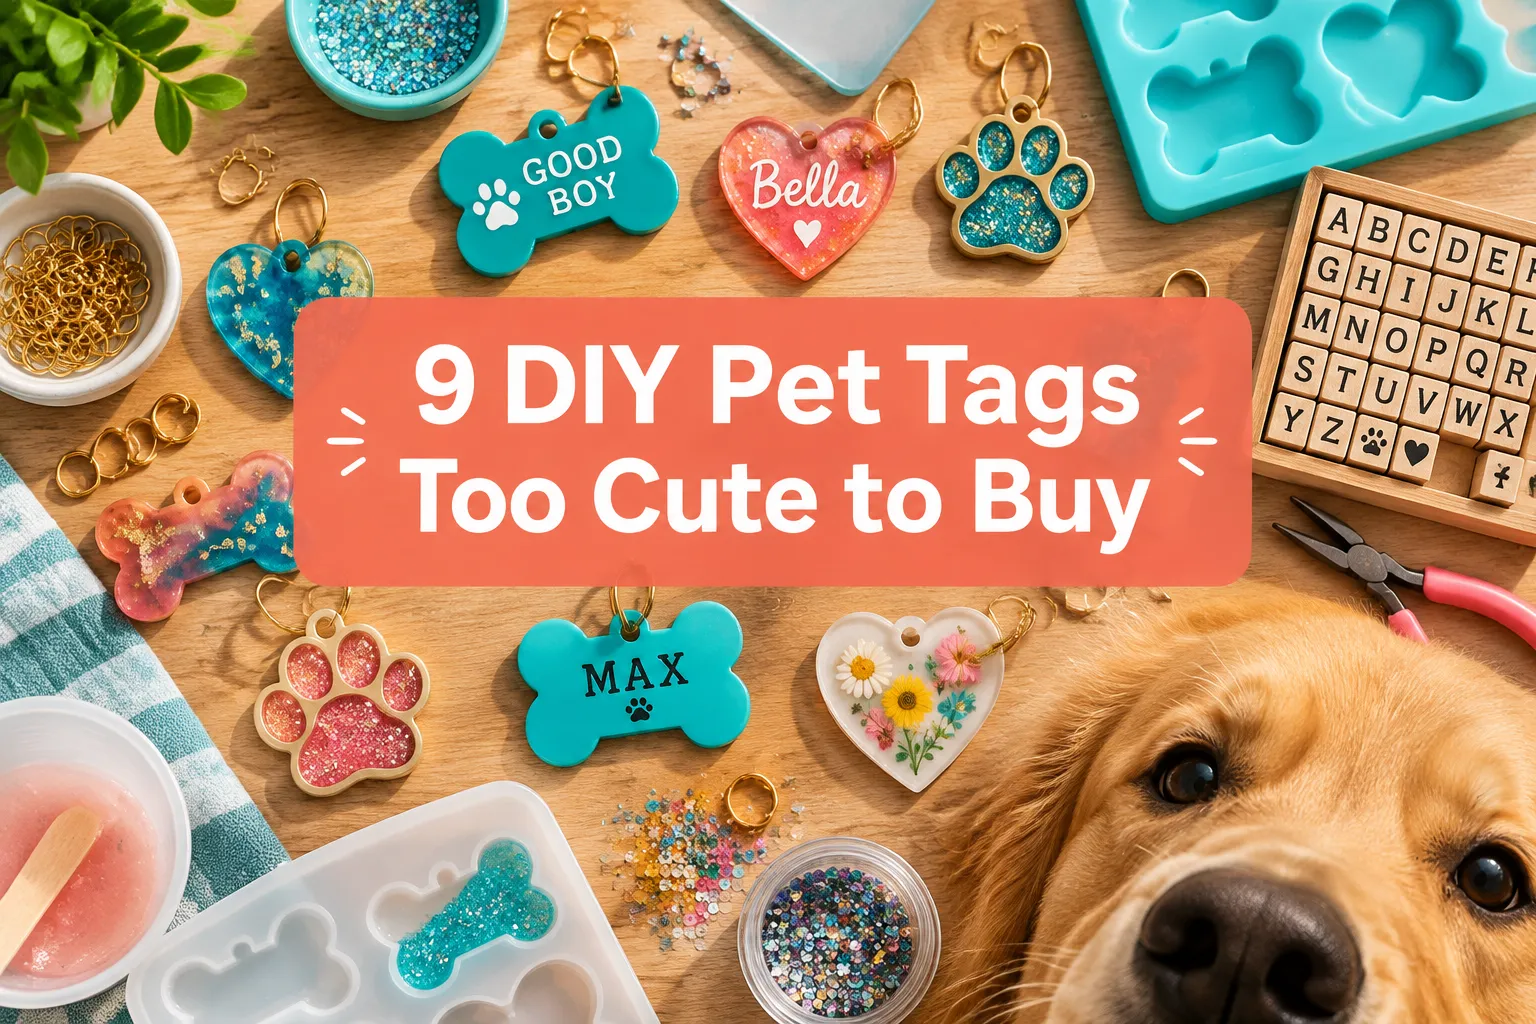
Quick Answer: DIY pet tags are homemade identification tags crafted from materials like resin, shrink plastic, metal blanks, or polymer clay. You can personalize them with your dog’s name, your phone number, and fun designs – often for less than a few USD per tag. They’re a creative, budget-friendly alternative to store-bought options, and many turn out cuter than anything you’d find in a shop.
Key Takeaways
- 🐾 You can make DIY pet tags at home using resin, shrink plastic, metal blanks, or polymer clay
- 🏷️ Every pet tag must include your dog’s name and your contact phone number at minimum
- 💰 Homemade tags typically cost less than 3 USD each in materials vs. 10-25 USD for custom shop tags
- ✨ Glitter, dried flowers, vinyl lettering, and letter beads add personality without adding bulk
- 🔧 Tools like a hole punch, jump rings, and needle-nose pliers are all you need to attach tags safely
- 📏 According to the 2026 Pet ID Trends Report, micro-sized tags with bold personalization are the biggest shift in pet ID accessories right now
- 🐕 Small dogs need lighter, smaller tags – large dogs can handle heavier metal or resin styles
- 🛡️ Sealing your tag with clear resin or glaze protects the name and info from rubbing off
- 🎨 Free tools like the Stamp Maker Pet ID Tag Designer let you plan your layout before you start crafting
- 🐱 These methods work for cat tags too – just keep them lightweight and quiet
What Are DIY Pet Tags and How Do You Make Them?
DIY pet tags are identification tags you make yourself at home using craft materials, rather than ordering from a shop. The process varies by material – but most projects follow the same basic flow: shape the tag, add your dog’s name and contact info, seal it, and attach it to the collar with a jump ring.
The beauty of the DIY approach is full control over size, shape, color, and style. You’re not limited to what a shop stocks. Want a tiny glitter heart for your Chihuahua or a bold stamped metal bone for your Labrador? You can make both in an afternoon.
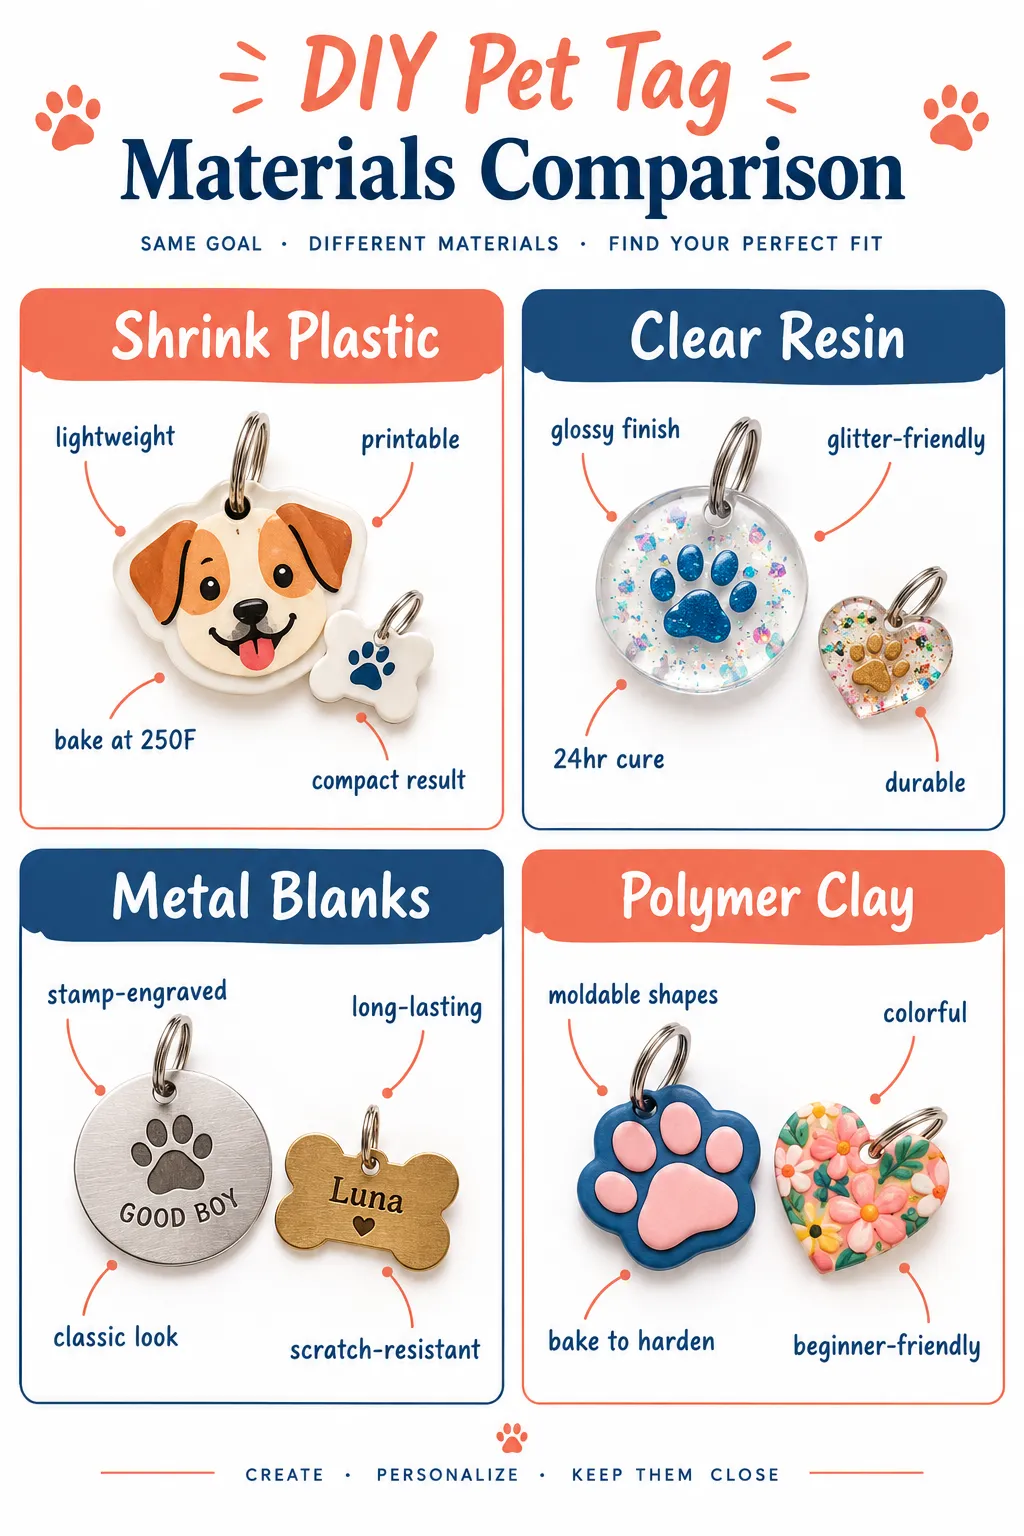
Here’s a simple overview of the most popular methods:
| Method | Skill Level | Avg. Cost per Tag | Cure/Dry Time |
|---|---|---|---|
| Shrink plastic | Beginner | Under 1 USD | 5-10 min bake |
| Clear resin | Intermediate | 1-2 USD | 24+ hours |
| Metal stamping | Beginner | 2-3 USD | Immediate |
| Polymer clay | Beginner | Under 1 USD | 20-30 min bake |
Best Materials for Making Pet Tags at Home
The best materials for DIY pet tags are shrink plastic, clear resin, metal blanks, and polymer clay – each offering a different look, durability level, and skill requirement. Your choice depends on how much time you have, what tools you own, and how durable you need the finished tag to be.
Shrink plastic is the most beginner-friendly option. Lia Griffith’s printable pet ID tag guide uses editable PDFs printed on shrink film, then trimmed, hole-punched, and baked into sturdy mini tags. The plastic shrinks to roughly 40-50% of its original size, making it naturally compact – perfect for the micro-tag trend.
Clear resin produces glossy, professional-looking tags. The Resin Crafts Blog resin dog tag tutorial walks through mixing equal parts resin and hardener, pouring into a mold, removing bubbles with gentle heat, and curing for 24 hours or more on a warm, flat surface. You can embed glitter, dried flowers, or even a tiny dog photo inside.
Metal blanks are ideal if you want something that lasts for years. A basic metal stamp set lets you press each letter directly into an aluminum or brass blank. These tags resist water, scratches, and daily wear better than most other options.
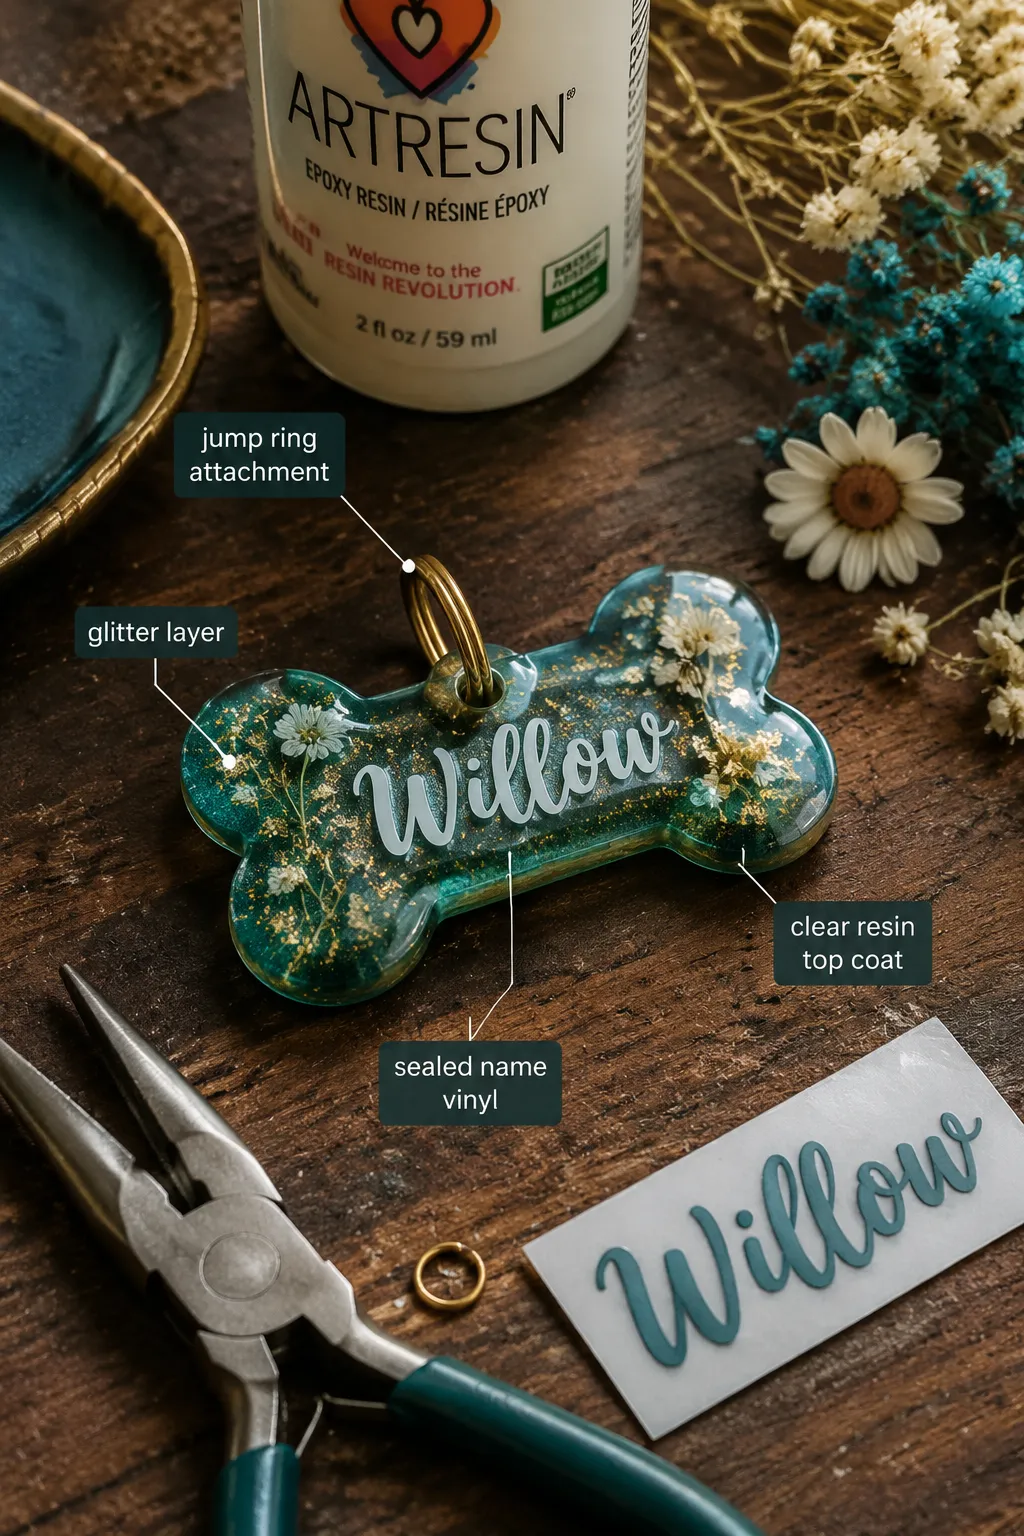
Polymer clay (including Liquid Sculpey) lets you sculpt any shape – bones, hearts, paw prints – then bake it hard. Mikyla Creates’ Liquid Sculpey dog tag project shows how to add glitter, dried flowers, and even black pepper for a speckled texture, then seal a vinyl name under a clear top layer so it can’t rub off.
Choose resin if you want a glossy, photo-quality tag. Choose shrink plastic if you need something fast and lightweight. Choose metal if durability is the top priority.
Best Tools and Supplies Needed for DIY Pet Tags
You don’t need a fully equipped craft studio to make great DIY pet tags. A short list of basic tools covers almost every method.
Essential tools:
- Hole punch or small drill (for the attachment hole)
- Jump rings (to connect the tag to the collar ring)
- Needle-nose pliers (to close the jump ring securely)
- Fine-tip permanent markers or metal stamp set
- Parchment paper (for baking shrink plastic or clay)
Nice to have:
- Resin molds in bone, heart, or paw shapes
- Glitter, dried flowers, or letter beads for decoration
- Vinyl lettering or a Cricut machine for clean text
- Clear glaze or resin top coat for sealing
Hepper’s DIY dog tag guide lists polystyrene plastic, a toaster oven, parchment paper, a hole punch, and fine-tip markers as the core kit for shrink-plastic tags – most of which you likely already own.
For digital planning before you cut or stamp anything, the free Stamp Maker Pet ID Tag Designer lets you lay out text and graphics in a browser before committing to the physical tag.
9 DIY Pet Tag Ideas for Dogs and Cats
These nine ideas range from a quick 10-minute make to a more involved resin pour – but all of them produce tags that are genuinely too cute to buy.
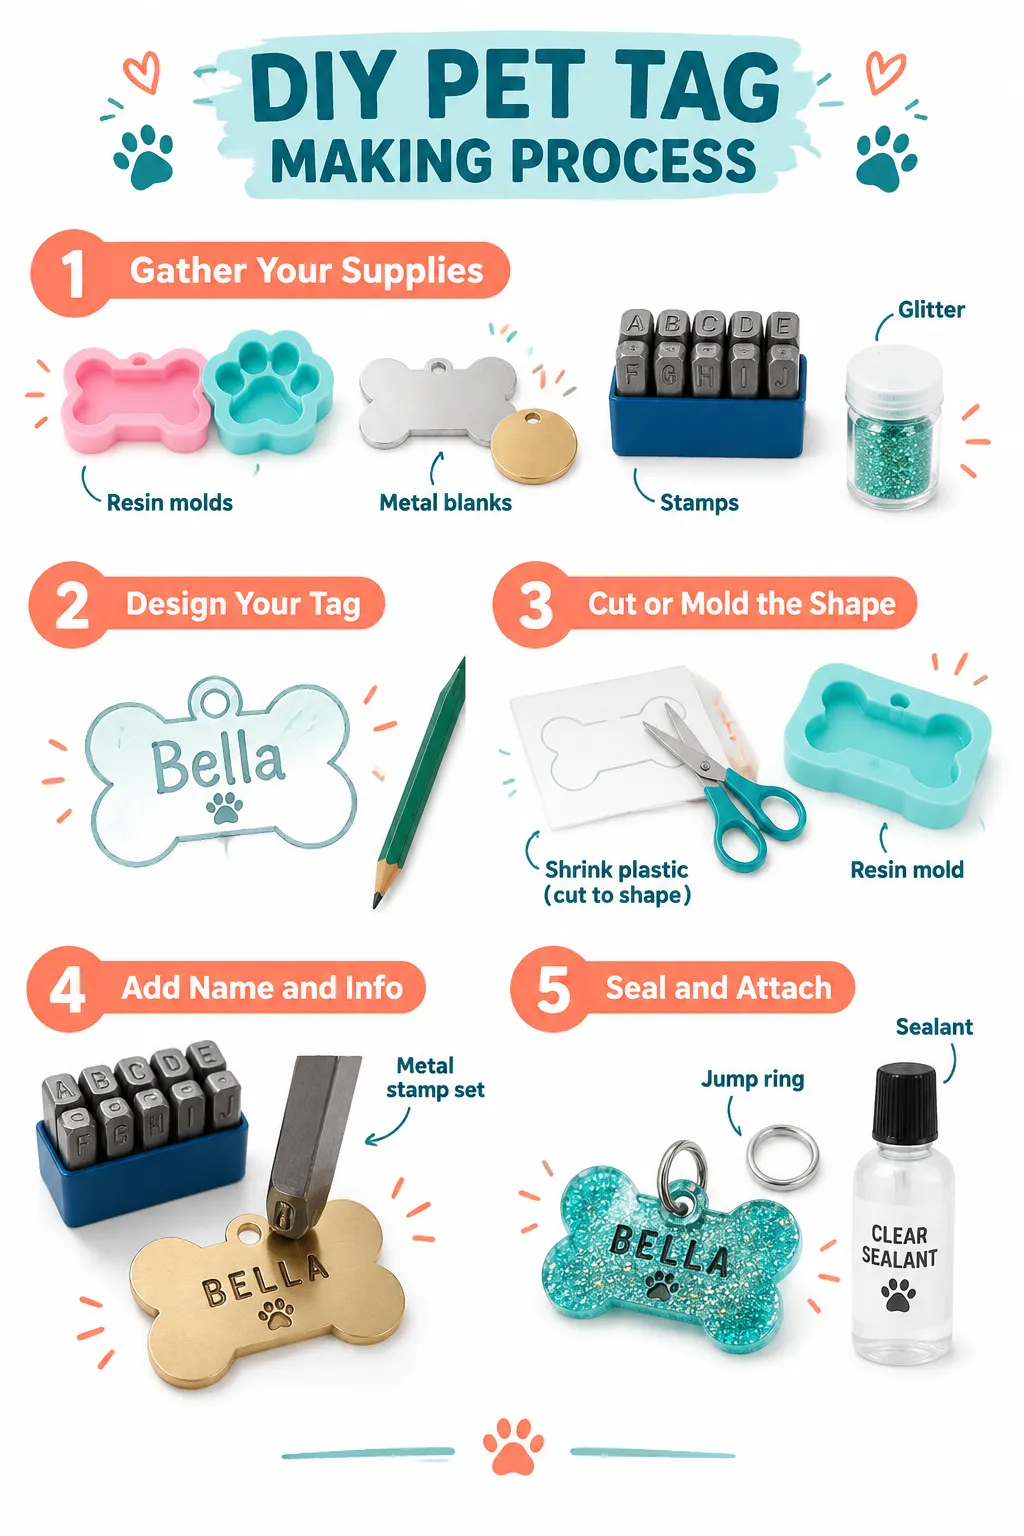
- Glitter resin heart tag – pour clear resin mixed with fine glitter into a heart mold, cure 24 hours, attach a jump ring
- Shrink plastic bone tag – print your dog’s name on shrink film, cut out a bone shape, bake at 250°F (121°C) until flat
- Stamped metal blank – use a letter stamp set to press your dog’s name and your phone number into an aluminum blank
- Liquid Sculpey flower tag – mix colored polymer with dried flowers, bake, seal a vinyl name on the back
- Bottle-cap epoxy tag – fill a bottle cap with a tiny printed photo and clear epoxy, add a jump ring
- Wood-burned tag – use a wood-burning tool to etch your dog’s name onto a small wood disc, seal with clear varnish
- Washi tape tag – layer washi tape patterns on a metal blank, seal with clear epoxy so it stays dry and scratch-resistant
- Clay paw print tag – press your dog’s actual paw into air-dry clay, cut to size, seal, and add contact info on the back
- Resin photo tag – embed a tiny printed dog photo in clear resin for a blissful keepsake tag your dog wears every day
For cat tags, keep designs lightweight – a small shrink-plastic heart or a thin clay disc works well without adding bulk to a cat collar.
If you love making things for your dog, check out this easy crochet dog sweater free pattern for another fun DIY project.
DIY Pet Tags vs. Buying Them – Which Is Cheaper?
Homemade DIY pet tags almost always cost less per tag than buying from a shop, especially once you own the basic tools. The material cost per tag typically runs under 2-3 USD, while custom shop tags range from 10-25 USD each.
That said, the upfront tool investment matters. A resin starter kit might cost 20-30 USD, and a metal stamp set can run 15-40 USD. Once you have those, each additional tag costs almost nothing in materials.
According to 2026 pet tag trend analysis, owners increasingly want statement names, distinctive typography, and color schemes that match their dog’s personality – and that level of personalization from a shop adds up fast. DIY gives you the same result for a fraction of the price.
Platforms like Zazzle’s custom pet tag section let you upload your own design to a blank template, which blurs the line between DIY design and manufactured tags – useful if you want a professional finish without stamping or pouring resin yourself.
Bottom line: If you make more than 3-4 tags, DIY wins on cost every time.
How to Personalize Pet Tags With Names and Numbers
Personalizing a DIY pet tag means adding your dog’s name and your contact phone number in a way that won’t fade, scratch off, or become unreadable over time. The method you use to add info should match the tag material.
- Metal blanks: Use a metal stamp set to physically indent letters – this info never fades
- Resin tags: Apply a vinyl name sticker, then pour a clear resin top coat over it to seal it permanently
- Shrink plastic: Print text directly onto the film before baking – the ink bonds to the surface
- Clay tags: Press letter stamps into soft clay before baking, or seal vinyl text under a glaze coat
Mikyla Creates’ approach is smart: she seals the name and phone number under a clear polymer layer so neither can rub off during daily wear. That’s the standard to aim for on any tag.
The 2026 Pet ID Trends Report notes that bold typography and color schemes that reflect a dog’s personality are now a major driver of tag purchases – so don’t be shy about making the name large and the font distinctive.
DIY Pet Tags for Small Dogs vs. Large Dogs
Tag size and weight should match your dog’s size – a heavy metal tag on a tiny Chihuahua is uncomfortable and noisy, while a flimsy shrink-plastic tag on a large active dog may not survive rough play. Small dogs do best with micro-sized tags under 1 inch, while large dogs can handle standard 1.25-1.5 inch tags in heavier materials.
For small dogs (and cat tags), shrink plastic and thin polymer clay are ideal – they’re light, quiet, and compact. The 2026 Pet ID Trends Report specifically flags micro-tags as one of the most significant findings in this year’s pet ID data, driven partly by demand from small-dog and cat owners.
For large dogs, stamped metal blanks or thick resin tags hold up better to daily activity, water exposure, and the general chaos that comes with bigger breeds. If you have an active Beagle or a bouncy Labrador, go metal.
Rule of thumb: If your dog’s collar ring is under 0.5 inches wide, use a lightweight tag. If it’s over 0.75 inches, any material works.
Can You Make Waterproof DIY Pet Tags Yourself?
Yes – you can make waterproof DIY pet tags at home by sealing them correctly. The key is a protective top coat that bonds to the tag surface and doesn’t lift when wet.
- Resin tags are naturally waterproof once fully cured (24+ hours minimum)
- Metal tags don’t absorb water, but any painted or inked lettering needs a clear sealant coat
- Shrink plastic tags are water-resistant but benefit from a clear glaze over any marker text
- Clay tags need a waterproof glaze or resin top coat – uncoated clay can absorb moisture over time
The Resin Crafts Blog emphasizes proper curing as the key to durability – a tag that hasn’t fully cured will stay tacky and won’t resist water or scratches. Always cure resin in a warm, flat area and don’t rush it.
For a dog that swims or plays in the rain regularly, a stamped metal blank or a fully cured resin tag is the most reliable choice.
How Long Do Homemade Pet Tags Last?
A well-made DIY pet tag can last 1-3 years with normal daily wear, which is comparable to many store-bought tags. Longevity depends mostly on the material and how well the contact info is sealed.
- Metal stamped tags: 3-5+ years, especially in stainless steel or brass
- Fully cured resin tags: 1-3 years before surface scratching becomes noticeable
- Shrink plastic tags: 6-18 months with a sealant coat; less without one
- Clay tags with glaze: 1-2 years depending on activity level
The biggest failure point on any homemade tag is the contact info rubbing off. Sealing text under resin, glaze, or a clear epoxy layer dramatically extends readable life. Replace any tag when the name or number becomes hard to read – that’s the only info that matters in an emergency.
Common Mistakes When Making DIY Pet Tags
Most DIY pet tag failures come down to a few repeated errors. Knowing them in advance saves wasted materials and time.
Top mistakes to avoid:
- Skipping the sealant – ink and vinyl lettering rub off fast on unsealed tags
- Punching the hole too close to the edge – the tag will crack or tear at the attachment point
- Rushing resin cure time – a tacky, undercured tag scratches easily and won’t hold up
- Making the text too small – if someone finds your dog, they need to read the number quickly
- Forgetting to test shrinkage – Instructables’ shrink-plastic tutorial notes the characteristic curl-then-uncurl behavior of #6 plastic at 250°F; pressing the piece flat under a heavy book while it cools prevents warping
- Using toxic materials – dogs mouth their tags; avoid paints or sealants not rated as non-toxic once dry
A quick check before attaching any tag: tug the jump ring firmly. If it opens or bends easily, use pliers to close it tighter. A lost tag helps no one.
What Information Should You Put on a Pet Tag?
Every pet tag should include at minimum your dog’s name and your primary contact phone number. That’s the info a stranger needs to get your dog home fast.
Must-have info:
- Dog’s name
- Your phone number (mobile preferred)
Useful additions:
- A second contact number
- “Microchipped” if applicable
- City or region (helpful for lost-pet searches)
- Any critical medical info (e.g., “needs medication”)
What to leave off:
- Your home address (security risk)
- The dog’s full vaccination history (too much info for a small tag)
- QR codes on soft materials (they scratch off quickly)
2026 pet trend coverage notes that tags are increasingly treated as fashion and identity items – but safety info should always come first, with style layered on top.

How to Attach DIY Pet Tags to Collars Safely
Attach DIY pet tags using a split ring or a jump ring threaded through the tag’s hole and the collar’s D-ring. Split rings (like tiny key rings) are more secure for active dogs; jump rings are lighter and fine for calm or small dogs.
Steps to attach safely:
- Check the hole in your tag – it should be at least 3mm wide and centered, not near the edge
- Open the split ring or jump ring with needle-nose pliers
- Thread it through the tag hole and the collar D-ring
- Close the ring firmly – no gap should remain
- Tug the tag several times to confirm it won’t pull free
For dogs that are sensitive to tag noise, a silicone tag silencer (a small rubber sleeve) slips over the tag and collar ring to muffle the clinking. These are widely available online for under 3 USD and work with any tag shape.
FAQ
How can I make homemade dog tags for my pets?
You can make homemade dog tags using shrink plastic, clear resin, metal blanks, or polymer clay. Print or stamp your dog’s name and phone number onto the material, seal it with a clear coat or resin, punch a hole near the top edge, and attach a jump ring to connect it to the collar. Most projects take under an hour and cost less than 3 USD in materials.
Can I make my own dog tags?
Yes, you can absolutely make your own dog tags at home. Common DIY methods include baking printed shrink plastic, pouring resin into shaped molds, stamping metal blanks with letter stamps, or sculpting polymer clay. Free design tools like the Stamp Maker Pet ID Tag Designer help you plan the layout before you start. No special skills are required for most beginner-friendly methods.
What legally needs to be on a pet tag?
Legal requirements for pet tags vary by location, but most regions in the US and Canada require a current rabies vaccination tag and a license tag issued by your local municipality. Beyond legal requirements, best practice is to include your dog’s name and your phone number on a separate ID tag. Check your local city or county rules, as some areas require the owner’s name and address as well.
What should you not put on your dog’s ID tag?
Avoid putting your full home address on your dog’s ID tag, as it can be a security risk if your dog is found by a stranger. Don’t include sensitive personal info, QR codes on soft or unsealed materials (they scratch off), or so much text that the key info – name and phone number – becomes hard to read quickly. Keep it simple: name, one or two phone numbers, and any critical medical alerts.
Conclusion
Making your own DIY pet tags is one of the most practical and genuinely fun things you can do for your dog. You get full control over size, style, and personalization – and you’ll likely spend less than 3 USD per tag once you have the basic tools.
Your next steps:
- Pick one method that matches your skill level – shrink plastic for beginners, resin for a glossy finish, metal stamping for maximum durability
- Gather your supplies (most are already in a basic craft kit)
- Plan your layout using the free Stamp Maker Pet ID Tag Designer before you start
- Always seal the contact info so it can’t rub off
- Attach the tag with a secure split ring and do a firm tug test before your dog wears it
Whether you’re crafting a blissful glitter heart for a tiny Pomeranian or a bold stamped metal tag for a big Labrador, the result will be something no shop tag can match – because you made it specifically for your dog. And that’s always the cutest option.
For more creative dog projects, check out this DIY dog ice cream recipe that’s just as fun to make as these tags.